Simple Steps to Sealing a Pond
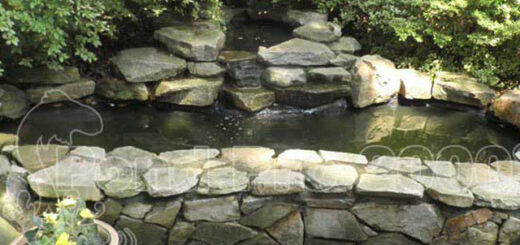
The thought of having a man-made pond on the property is quite nice. Even before you have started to dig a hole for the pond, you can already imagine spending a quiet day relaxing by the pond and perhaps watching koi come to the surface for a nibble of food. A water feature can be quite relaxing, and it can add a lot to the aesthetic value of your property. However, you want to make sure you reduce the risk of leaks. The following are some simple steps to guide you along the way.
It Starts With Preparation of the Pond
To ensure you are sealing a pond properly, you need to start with a properly prepared location. Once you have dug out the hole for the pond, you will want to inspect the area to make sure there are no sticks or rocks, or roots that are in the vicinity. These could eventually cause a puncture. This can be a big problem with roots, as they may start to push their way toward the pond and through the liner or concrete that you have used for the pond. Once the hole is properly cleaned out and prepared, you can move on to the next step of sealing ponds.
Make Sure the Concrete Is Ready
If you are going to be sealing a pond made of concrete, you need to make sure that the concrete is fully set and cured before you begin. If you allow moisture to remain in the concrete, this is going to cause cracks and leaks latter. The usual amount of time it takes for concrete to set is four weeks, or just one week if it has an accelerator added to it. However, weather conditions could slow this process slightly. For example, if it is damp, the concrete will take longer to set.
Clean It Properly
Once the liner is in place, or your concrete has been cured, it is time to clean the area thoroughly. Remove any dirt and debris from the pond. Go over it several times to make sure you have removed everything. Even a small piece of debris between the sealer and the pond could cause a leak.
Add the Sealer
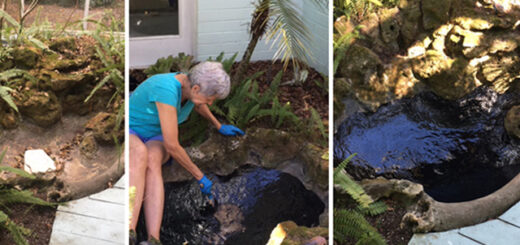
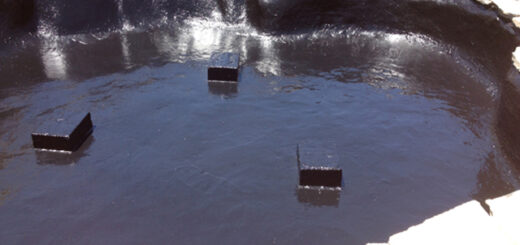
Sealing a pond requires the right type of sealer. Make sure you are choosing an option made especially for sealing ponds, and be sure that it is long-lasting and nontoxic. The instructions for the sealers tend to be very simple, and you will find that they go on just like paint. You can apply them with a roller or a brush. Always be sure to coat the entire pond so there is no chance of a leak.
Check for Leaks
Next, you will slowly start to add water and look for any leaks. If you find any leaks, remove the water and repair the leak with the sealer, or with a patch and sealer if the leak happens to be severe.
Once you are certain there are no leaks, you can fill up the pond with water and enjoy your new water feature.


