
DIY Pond Coating Guide: How to Keep Fish Safe
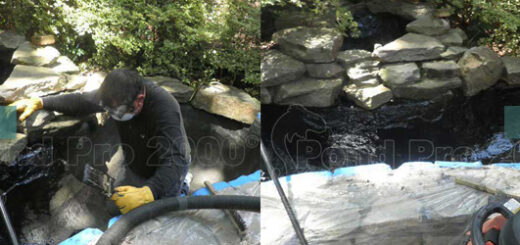
Then there is the bigger concern: the fish. A pond is not an empty concrete basin or a decorative wall you can paint. It is a living environment. Any product used inside it must be applied correctly, allowed to cure fully, and used according to the manufacturer’s instructions before you return fish or plants.
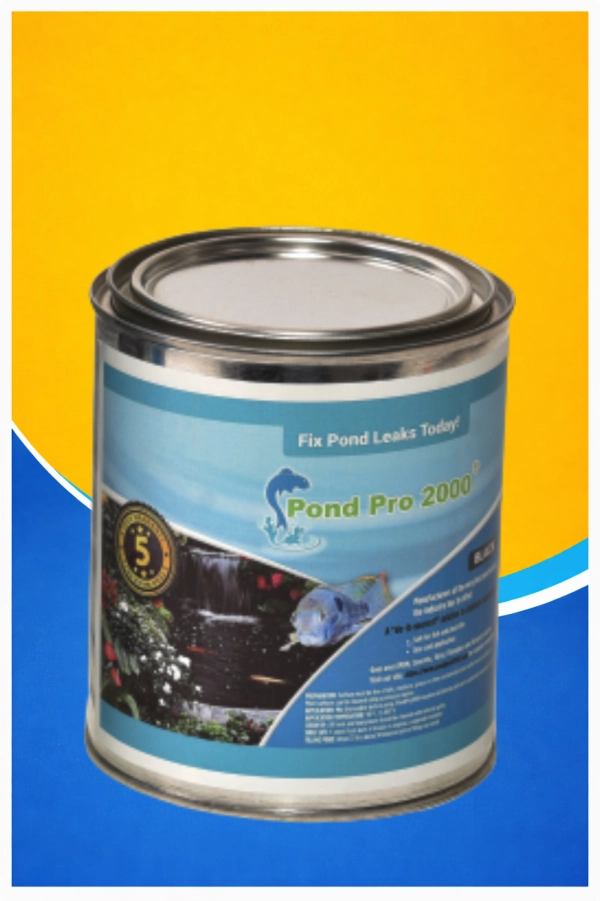
Pond Pro 2000 pond sealant repairs and waterproofs several pond surfaces, including concrete, existing EPDM liners, fiberglass, acrylic, weathered vinyl, TPO, fountains, pools, and other water-holding structures.
Once fully cured, Pond Pro 2000 is described as safe for fish, plants, frogs, turtles, and tadpoles. That last part matters: the coating must be fully cured. Never put fish back into a pond while the material is still wet or before the full recommended waiting period has passed.
Here is how to approach the project without rushing the steps that protect both the repair and your aquatic life.
Move the Fish Before You Drain the Pond
Before any cleaning or coating begins, move the fish and plants to a suitable temporary holding area.
Trying to work around fish still in the pond isn’t practical or safe. Drain, clean, inspect, repair, and dry the surface before applying the coating.
Once the pond is empty, take a good look around. Don’t focus only on where you think the leak started. Water can escape through cracks, loose seams, damaged liner sections, drains, corners, and old repair areas.
A leak may also be lower in the pond than expected. Coating only the visible waterline could leave the real problem untouched.
This is the time to inspect everything carefully, even if it means spending a little longer on preparation.
Do Not Wash the Pond With Household Detergent
Most homeowners naturally want to scrub the pond with a strong cleaner. For a fish pond, that can create another problem.
Pond Pro 2000’s instructions recommend using water and a soft-bristle brush when cleaning a pond that will hold fish or plants. Don’t use household detergents because leftover residue may harm aquatic life.
Scrub away algae, slime, dirt, and anything loose enough to get caught in a roller or brush.
If an older coating is peeling or separating, remove the loose sections with a scraper and wire brush. Also wire-brush rusty or pitted metal to remove loose oxidation. According to Pond Pro instructions, you can coat any remaining, tightly attached corrosion.
After cleaning, let the pond dry completely.
This is one of those steps people often underestimate. The open floor may look dry while water is still hiding in a crack, fold, drain, corner, or low spot. Check those areas closely before opening the coating.
A damp surface can interfere with adhesion and may affect the finished repair.
Repair the Damage Before Coating Everything
A liquid pond coating creates a continuous membrane, but it shouldn’t be expected to correct every structural problem on its own.
Look for tears, open seams, cracks, loose caulk, and damaged sections. Repair tears or rips with compatible butyl tape. Remove loose caulking instead of coating over it.
For corners, joints, drains, gaps, and noticeable concrete cracks, Pond Pro recommends Rubex MS modified sealer. The company identifies this caulk as compatible with Pond Pro 2000.
Why not simply roll over an old repair?
Because the new coating will only be as dependable as the material underneath it, if the existing caulk is loose, the coating may move with it. Taking a little extra time to remove unstable material gives the finished membrane a better surface to hold onto.
Existing EPDM Liners Need Special Preparation
If you are recoating an existing EPDM pond liner, do not move directly to the full application. Pond Pro calls for a light flash coat first.
The flash coat is a thin initial layer made from the same Pond Pro 2000 material. The technical instructions recommend using about 1.5 gallons per 200 square feet, creating a thickness of around 6 to 8 mils.
Allow the flash coat to dry for at least 24 hours before applying the main coat. Cooler weather and high humidity can slow the process, so check the surface rather than relying only on the clock.
Covering a flash coat while it is still wet may cause the liner to wrinkle. It can also increase the amount of time required for the liner to flatten and dry.
Straighten the liner folds as much as possible before coating. The surface needs to remain open enough for the product to cure and form a seamless membrane.
It may feel like an extra day added to the project, but it is not a step worth skipping.
Mix Pond Pro 2000 Thoroughly
Pond Pro 2000 with an electric drill and mixer attachment for about three to four minutes. Move the mixer up and down, then guide it around the container. The goal is to create a vortex that pulls the material together and distributes it evenly.
A few quick turns with a wooden stick aren’t the same as proper mixing. Proper mixing helps create a consistent material from the top of the container to the bottom. That makes it easier to apply an even coat across the pond.
Once the product is mixed, begin applying it at a steady pace.
Use the Correct Roller and Coverage Rate
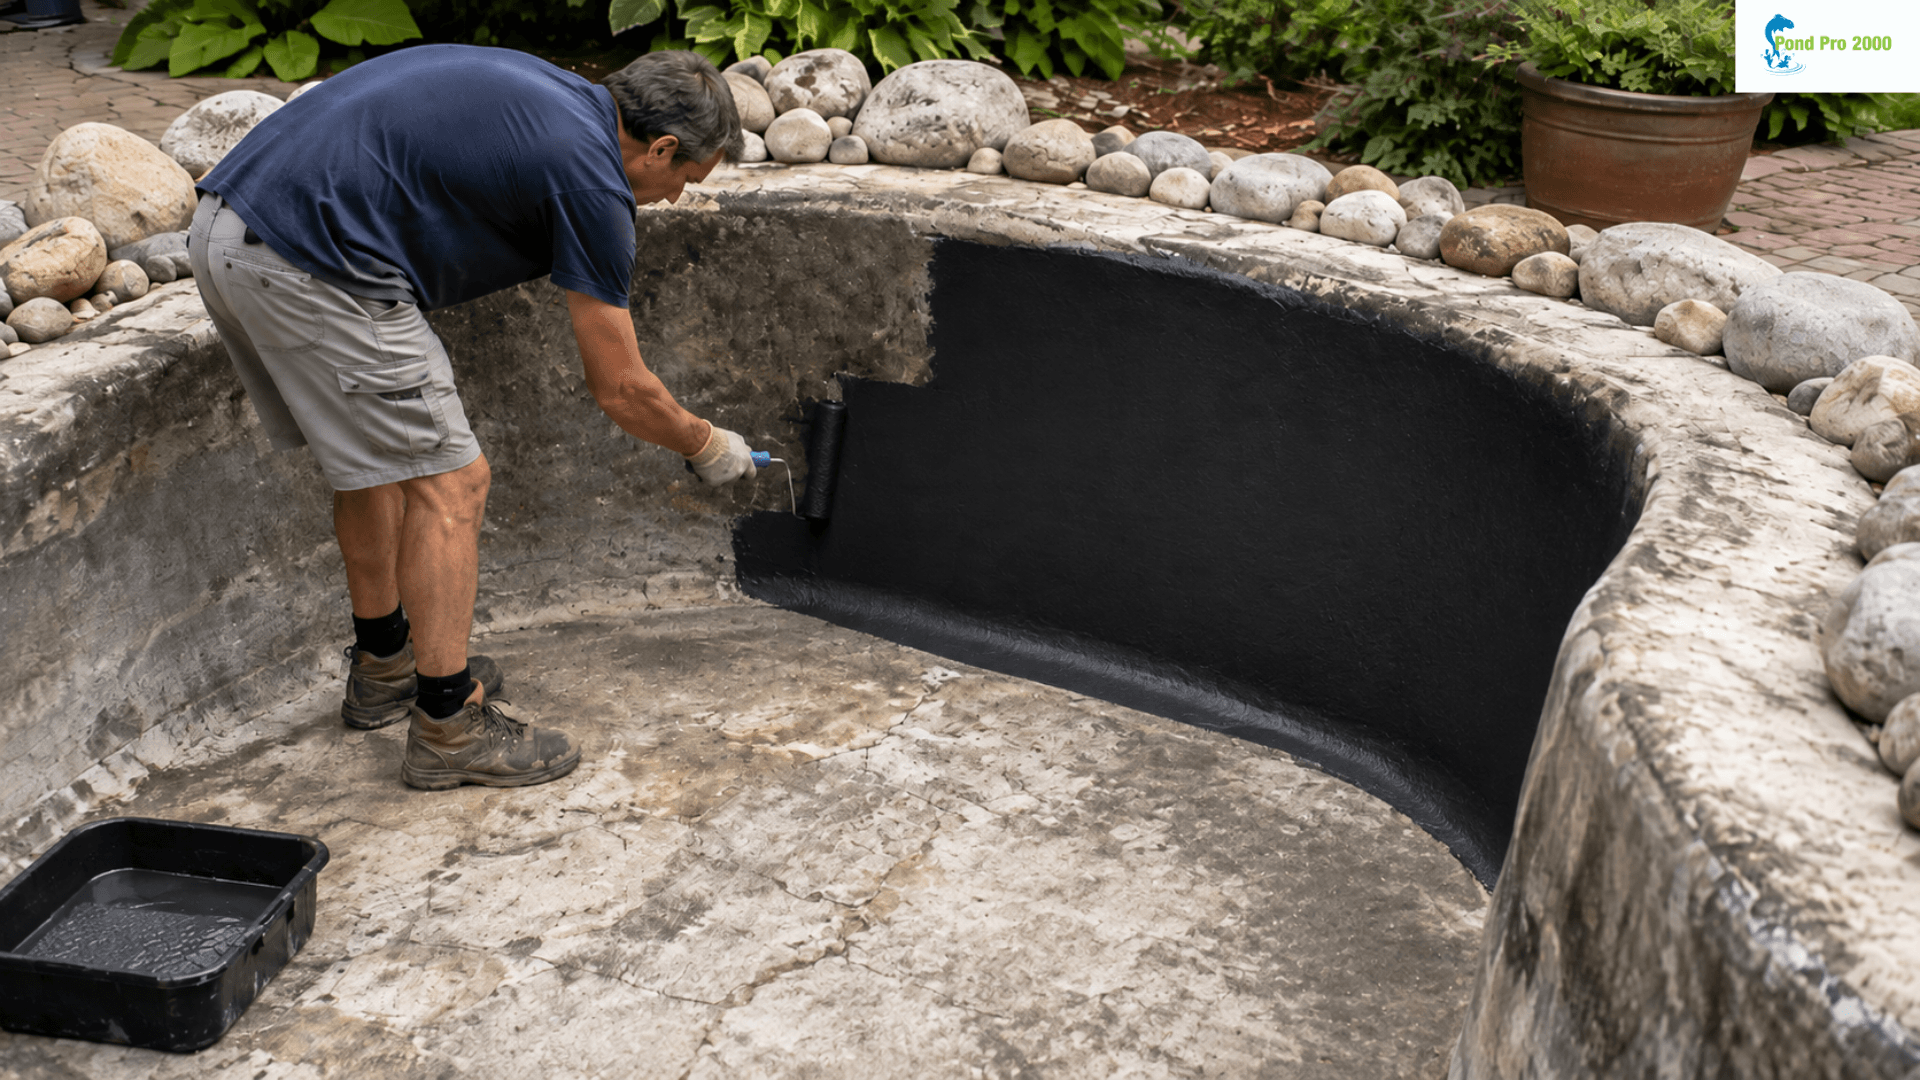
For larger open areas, pour the coating in an “S” pattern and spread it with a 3/8-inch nap roller. A brush works better around drains, corners, vertical walls, steps, edges, and other places where the roller cannot reach comfortably. A brush may also be easier to control in a small pond.
Pond Pro 2000 is designed as a one-coat system. On a smooth surface, one gallon covers approximately 40 square feet at the recommended 20-mil application thickness.
This isn’t just a number for deciding how many containers to order. It tells you how far the material should be spread.
Stretching one gallon over a much larger area may leave the finished coating thinner than intended. Rough concrete and irregular surfaces can also use more material than smooth surfaces.
Before you start, divide the pond into manageable, measured sections. This makes it easier to track your coverage as you work instead of guessing based on appearance.
Waterproof Does Not Mean Ready for Fish
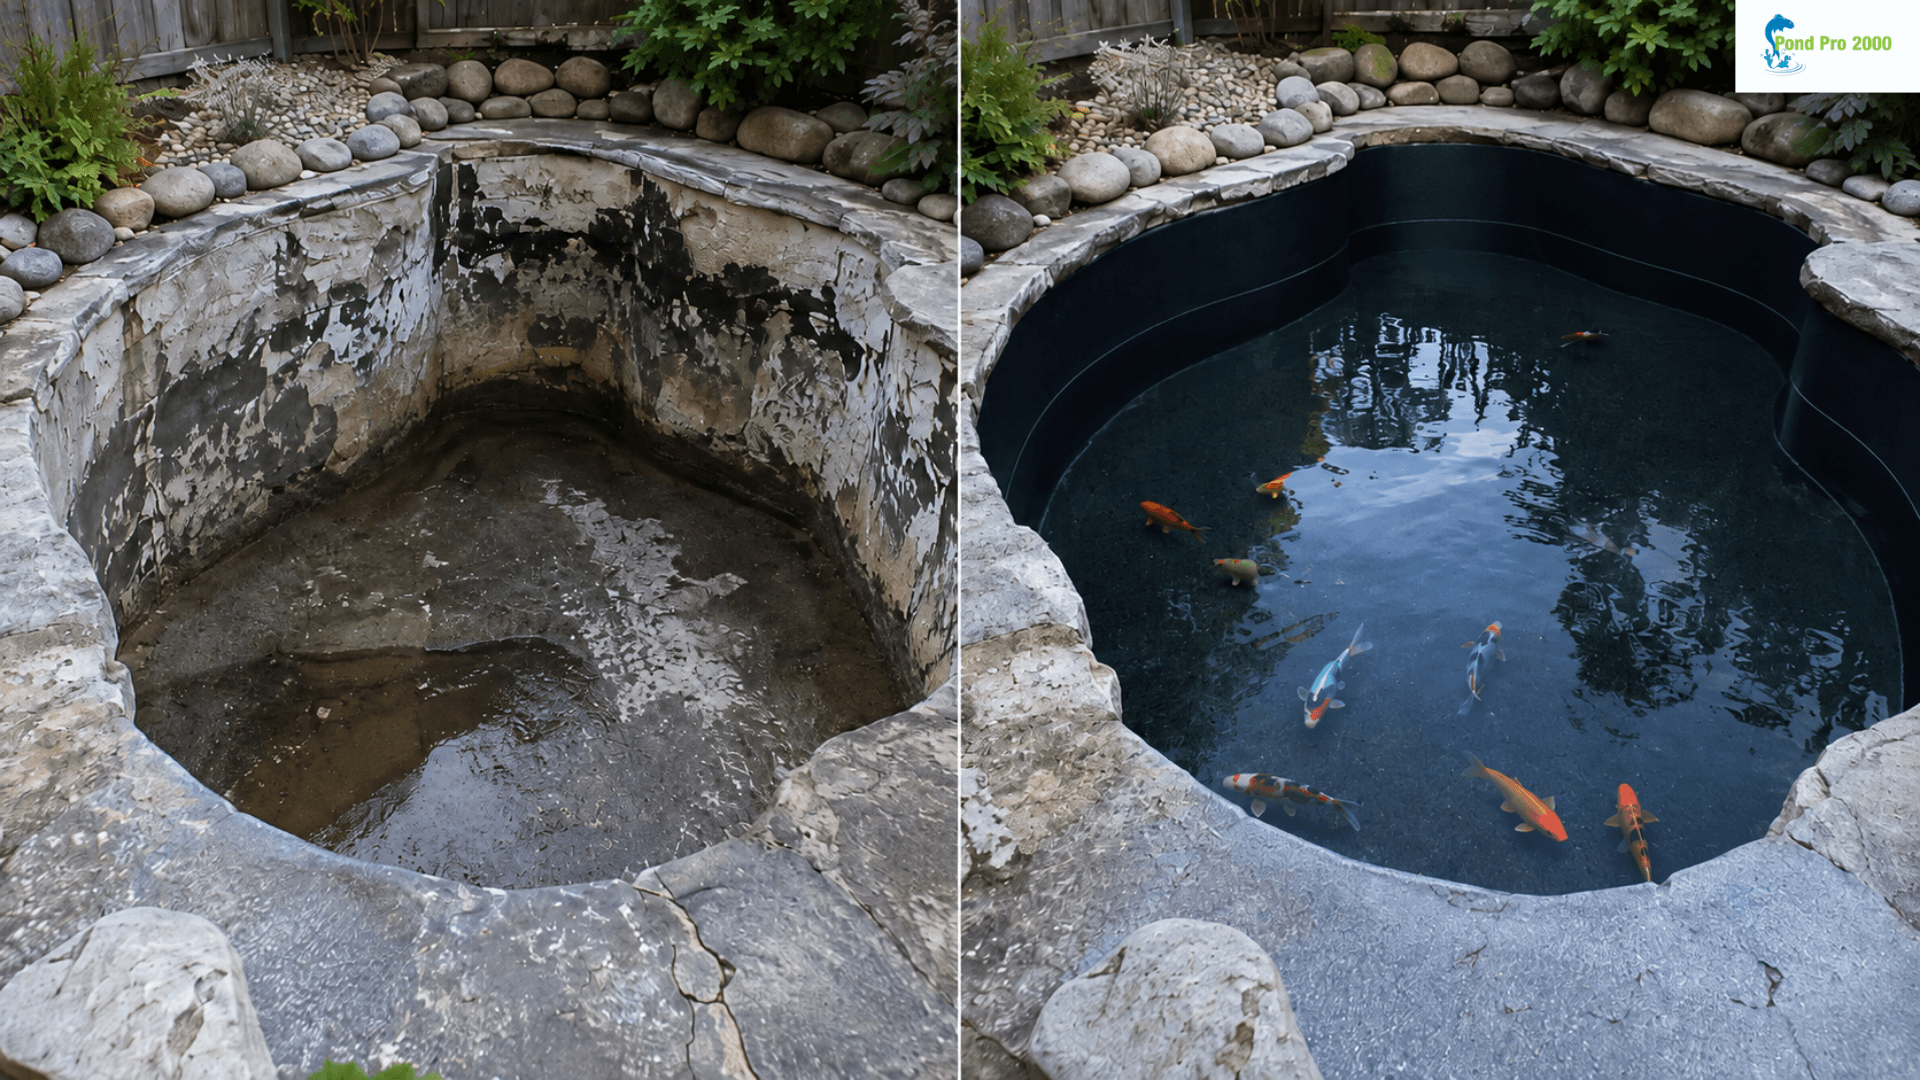
This is the most important part of the entire project. Pond Pro 2000 may become waterproof in approximately three hours when the temperature is at least 50°F and rising. However, that doesn’t mean you should refill the pond after three hours.
The application instructions say to wait a full 48 hours on a day above 50°F before filling the pond, as long as it has not rained during that period. Cooler temperatures or high humidity may require additional curing time.
It can be tempting to refill the pond as soon as the surface feels dry, particularly when fish are waiting in a temporary holding area. Resist that temptation. A dry-looking surface isn’t always fully cured. Follow the full refill period before returning water, plants, or fish.
Why Full Curing Matters
Pond Pro 2000 cures through a catalyst-driven chemical cross-linking process. As it cures, the material bonds to the prepared surface and develops into a seamless liquid-rubber membrane.
Once fully cured, the coating is described as non-toxic to fish and plants. It is also intended to remain flexible, resist UV light and ozone, and handle seasonal freezing and thawing.
These qualities matter because pond surfaces don’t stay completely still. Temperatures change, water remains in constant contact with the coating, and outdoor ponds move through different weather conditions during the year.
A dependable pond repair needs more than a coating that looks smooth on application day. It needs correct preparation, adequate thickness, and enough time to cure properly.
Take Your Time and Follow the Order
Complicated techniques do not cause most DIY pond coating problems. They happen when you rush a basic step.
The pond is not fully dry. Loose caulk is left behind. The material is spread too thin. You cover an EPDM flash coat too soon. You add water because the surface feels dry, even though the full curing period has not passed. A better approach is simple:
Move the aquatic life, drain the pond, clean it with water, complete the necessary repairs, let everything dry, mix the product thoroughly, apply it at the correct coverage rate, and respect the full refill time.
Before ordering your material, calculate the actual surface area being coated rather than using the pond’s water capacity. Then read the official pond pro 2000 application before beginning.
A leaking pond does not always need to be demolished or completely rebuilt. With careful preparation and enough curing time, the right pond sealant can create a continuous waterproof surface and give the fish a safe place to return once the project is finished.