The Ultimate Spring Checklist for a Leak-Free Pond

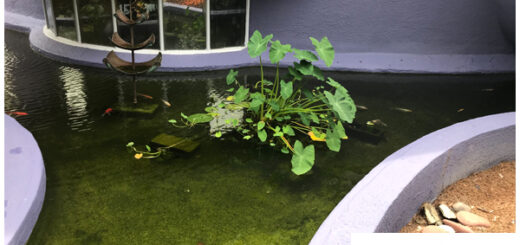
Nothing kills the excitement of the first warm spring day like seeing your pond’s water level drop six inches overnight. After winter’s ice, shifting soil, and freezing temperatures, leak season has arrived.
Spring is the best time to check your backyard ecosystem. Catch a problem now to fix it before your fish get active and your plants bloom. Ignore a slow drip, and you’ll face high water bills and a dying landscape all summer.
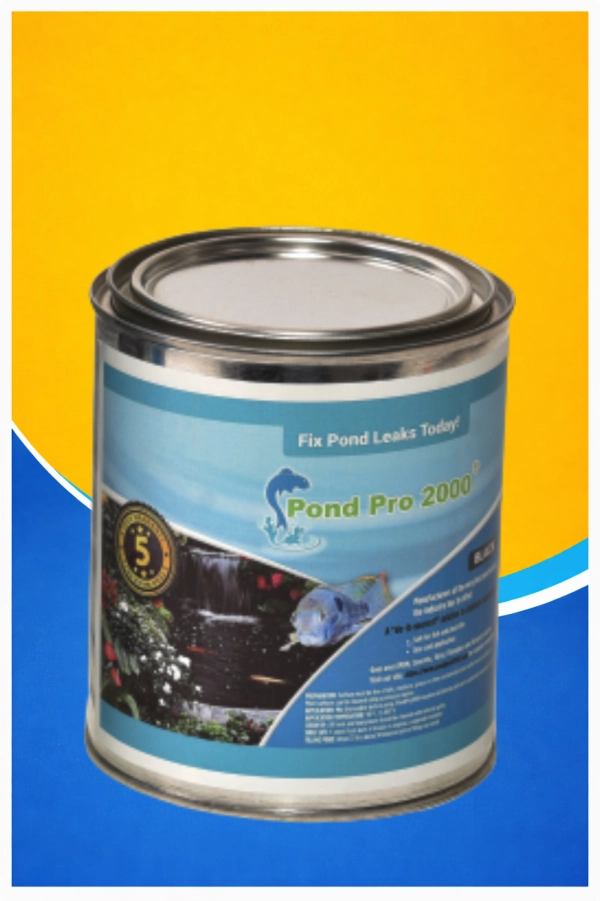
Based on years of helping folks rescue their water features at pond pro 2000, we’ve put together this “no-nonsense” checklist to help you find, fix, and forget about leaks this year.
1. The “Low Edge” vs. Real Leak Test
Before you panic and start buying every pond sealant on the shelf, check your perimeter. During the winter, the ground freezes and thaws. This “heaving” can actually push a section of your pond liner down.
- Look for spillover: Sometimes water escapes over a low spot in the liner, not through a hole. If you see a soggy patch near the pond edge, lift the liner and pack dirt underneath.
- The Freeze-Thaw Crack: If you have a concrete pond, look for hairline fractures. Concrete is stubborn—it doesn’t like to move, but the earth does. If the concrete cracked over the winter, you’ll need a pond sealer that can actually bridge those gaps.
2. Play Detective: Finding the “Invisible” Hole
If your edges are fine but the water is still disappearing, you have to find the source. We always recommend the “Stop and Drop” method. Turn off your pump and waterfall. Let the water level drop until it stops. Wherever that water line sits, that’s exactly where your hole is located.
Pro Tip: Once the water stabilizes, squirt a little milk or a non-toxic dye near the edges. If there’s a tear, you’ll see the color get sucked right into the hole like a vacuum. It’s the easiest way to pinpoint a leak without draining the whole thing.
3. Scrub It Like You Mean It
You can have the Best Pond Sealant in the world, but if you try to stick it to pond slime, it’s going to fail. Once you find the leak, get a stiff brush and scrub the area with clean water.
Wait for it to dry. This is the part people mess up. PondPro 2000 is a professional-grade solvent-based liquid butyl rubber. It hates moisture during the application phase. If the liner or concrete is even slightly damp, the sealant won’t “bite” into the surface correctly. Grab a hair dryer or just let the sun do its job, but make sure it’s bone-dry.
4. Why You Shouldn’t Use “Big Box Store” Patches
We see it every year: someone buys a cheap “peel-and-stick” patch from a hardware store, and by July, the adhesive has melted or peeled off.
A backyard pond is a high-pressure environment. You need a Pond Sealer that becomes part of the pond itself. PondPro 2000 is unique because it’s a single-coat system. It’s UV-resistant (meaning the sun won’t make it brittle), and it stays flexible. If the ground shifts again next winter, the sealant stretches rather than snaps.
5. The “Flash Coat” Trick for EPDM Liners
If you are working with an EPDM Pond Liner, here is a trade secret. EPDM can sometimes swell if you apply too much solvent-based sealer at once.
To avoid this, apply a “flash coat.” This is just a super-thin layer of the sealant—almost like you’re staining the surface. Let that sit for 24 hours. Once that’s cured, come back and apply your heavy coat. This creates a rock-solid bond that won’t wrinkle or bubble your liner.
6. Don’t Forget the “Hidden” Plumbing
Sometimes the leak isn’t in the pond at all—it’s in the pipes.
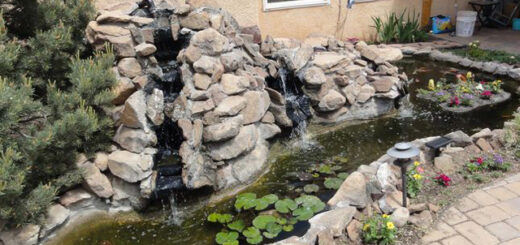
- Check the Waterfall: The point where your pipe connects to the waterfall weir is a major fail point. Check for cracks in the plastic or loose hose clamps.
- Check the Skimmer: If the seal between your Pond Liner and the skimmer box has pulled away, water will pour out whenever the pump runs. A quick bead of Rubex Caulk, followed by a coating of liquid rubber, usually does the trick.
7. The Wait Is Worth It
We know you’re in a hurry to get the fish back in, but don’t rush the cure time. Most of our repairs need about 24 hours of “dry time” before you add water. If the temperature is below 55°F, it might take a little longer.
The beauty of using a high-quality Pond Sealant is that once it’s dry, it’s 100% fish-safe. You don’t have to worry about toxic chemicals leaching into the water and hurting your Koi.
Final Thoughts for Your Spring Cleanup

Spring maintenance is about being proactive. A $100 fix today prevents a $2,000 liner replacement three years from now. Take the time to walk the perimeter, check your water levels, and keep a can of Pond Sealer in the garage just in case.
Your pond is supposed to be a place of relaxation, not a chore. If you do the work right this spring using the right materials, you can spend the rest of the year with a cold drink in your hand, watching the fish, instead of dragging a garden hose out every two days to top off a leaking pond.
Need help figuring out how much sealant you need for your project? Check out our coverage calculators at Pond Pro 2000 and let’s get that leak fixed for good!