How to Fix a Leaky Pond: The Ultimate Guide
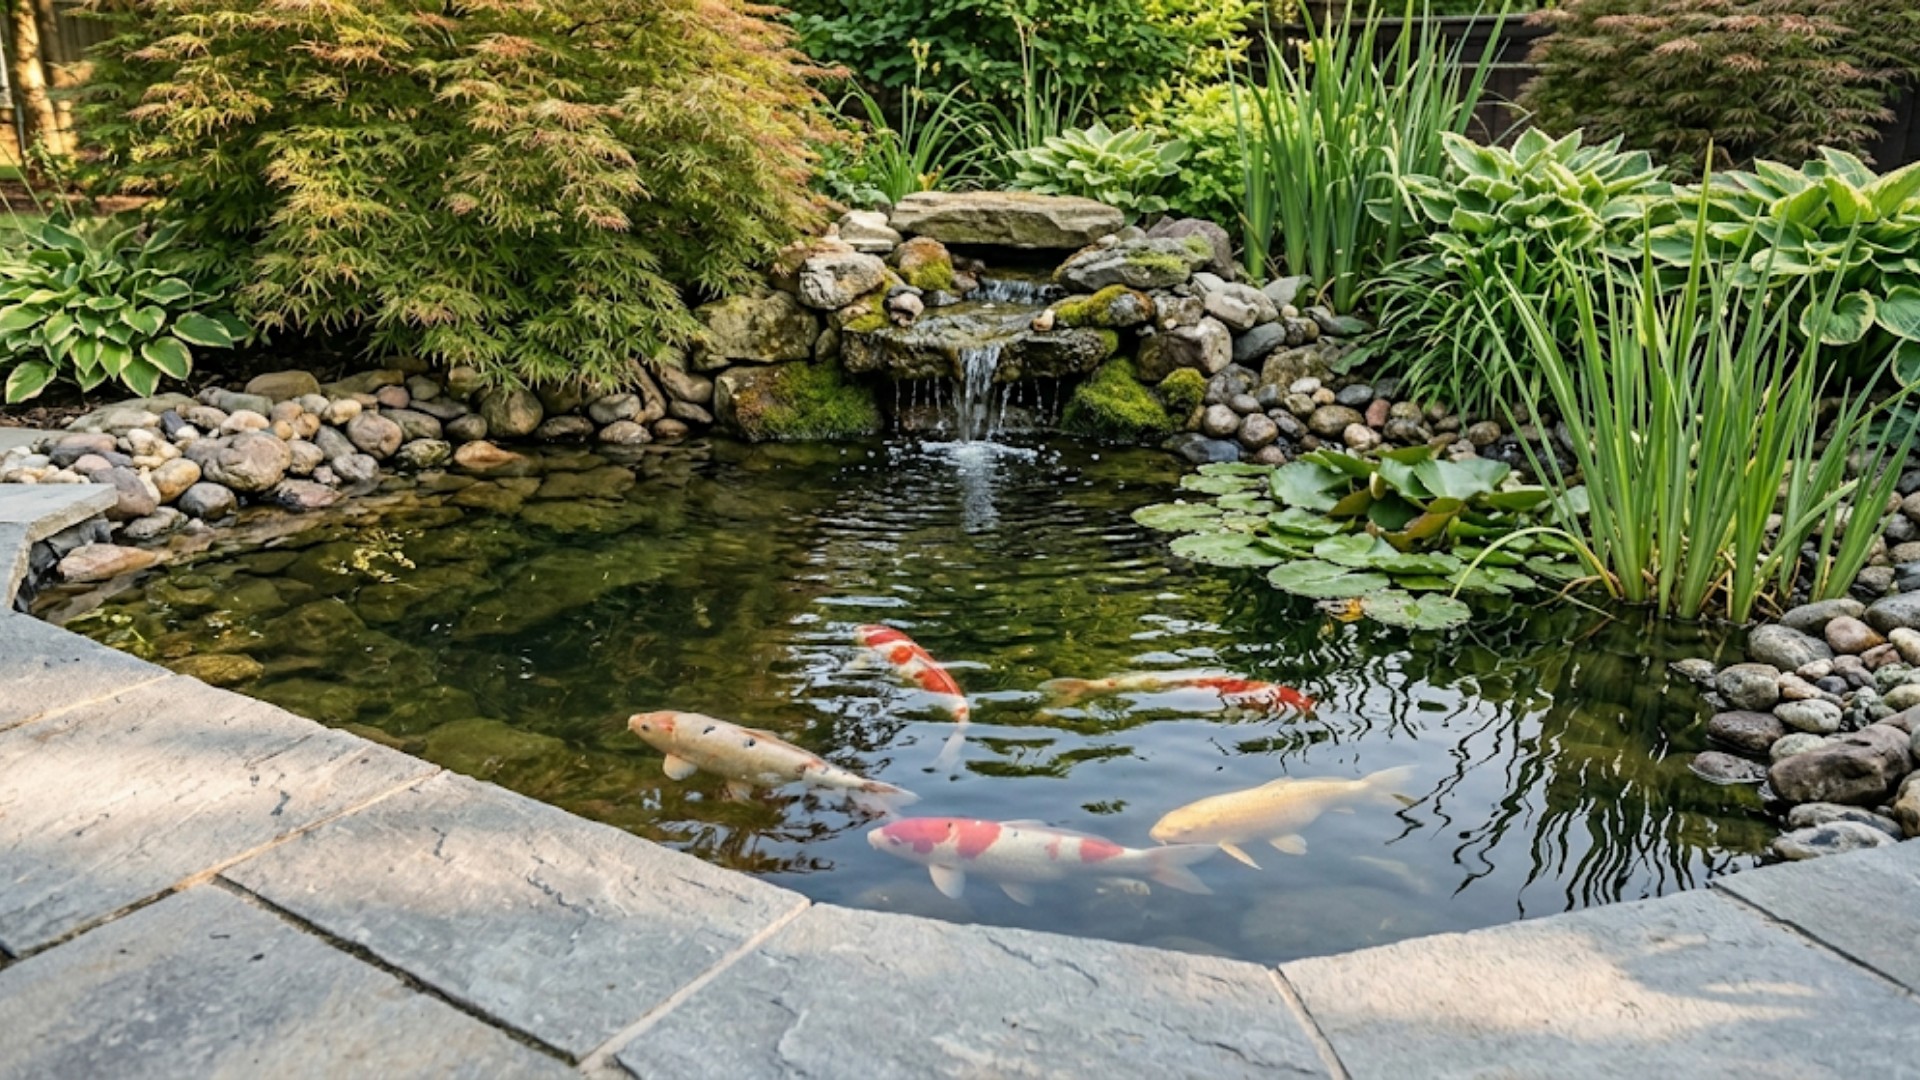
Let’s be honest: discovering a leak in your pond is a total gut – punch. One day, you’re enjoying the peaceful sound of trickling water, and the next, you’re staring at an exposed, muddy shoreline and worrying about your fish. It’s frustrating, but it’s a reality of pond ownership.
If you’ve been constantly dragging the hose out to top off your water levels, you’ve got a problem that won’t just go away on its own. Ignoring a leak leads to wasted water, soggy lawn patches, and a stressed-out ecosystem. But before you panic and think you need to rip the whole thing out, take a breath. Most leaks are actually pretty straightforward to fix if you have a bit of patience and the right materials.
In this guide, we’re going to walk through how to hunt down that leak and perform a professional – grade fishpond repair using pond pro 2000.
Step 1: Is It Actually a Leak?
Before you start tearing rocks apart, make sure you aren’t fighting a losing battle against the weather. Evaporation is a sneaky culprit, especially during windy weeks or hot summer stretches.
The Simple Bucket Test: Fill a bucket with pond water and set it right next to the pond. Mark the water level in both the bucket and the pond. Check back in 24 hours. If the pond level has dropped significantly more than the bucket, you’ve definitely got a leak. If they’ve dropped about the same, it’s just the sun doing its thing.
Also, check your plumbing. A loose connection on a pump or a “splash – out” in your waterfall (where a shifted rock sends water trickling over the side) is often mistaken for a liner puncture.
Step 2: Finding the “Sweet Spot”
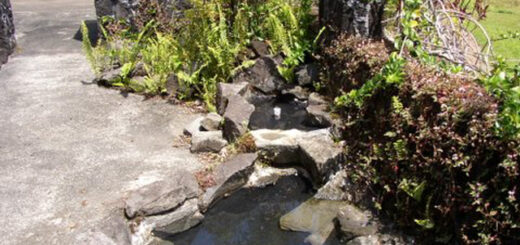
The hardest part of any fish pond repair is usually finding the hole. The easiest way to do this is to simply let the water go.
- Watch Where It Stops: Let the water level drop until it stabilizes. The point where it stops receding is exactly the level where your leak is located.
- Inspect the Perimeter: Walk around the edge at that water level. Look for punctures, tears, or “low spots” where the soil might have settled, causing the liner to dip below the water line.
- The Milk Trick: If you suspect a specific area, squeeze a few drops of milk into the water near the edge. If there’s a hole, you’ll see the white cloud get sucked right toward it.
Step 3: Getting the Surface Ready
You can have the best sealant in the world, but if you try to apply it to a slimy, algae – covered liner, it’s going to fail.
Drain the water to at least six inches below the leak. Use a scrub brush and some plain water (or a very diluted vinegar mix) to get that area spotless. You want to see the liner’s original color. Once it’s clean, dry it thoroughly. This is the secret sauce to a repair that actually lasts.
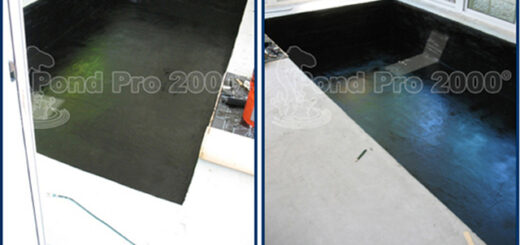
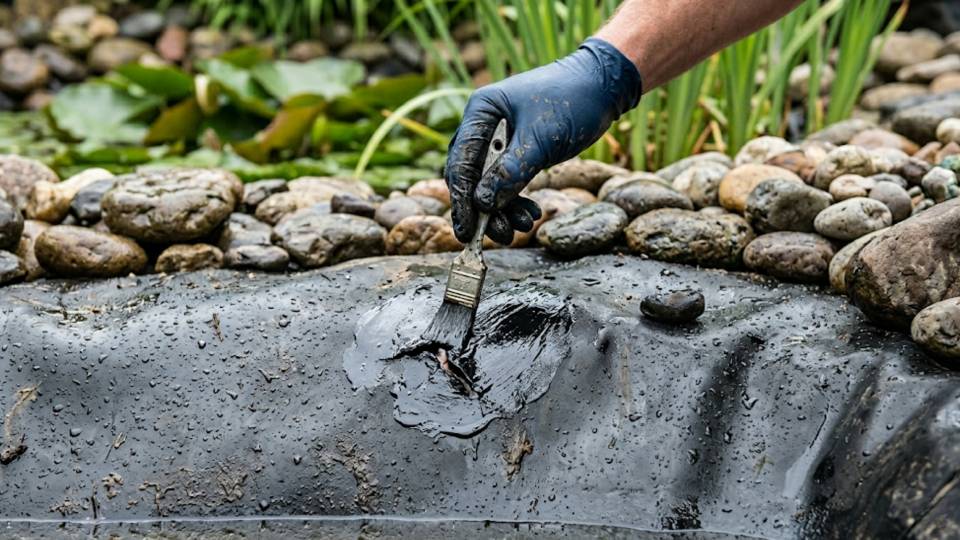
Step 4: Applying Your Liquid Pond Liner
This is where most people make a mistake – they grab a tube of cheap silicone from the local hardware store. Most of those sealants don’t “bond” to EPDM or concrete; they just sit on top of it and eventually peel off.
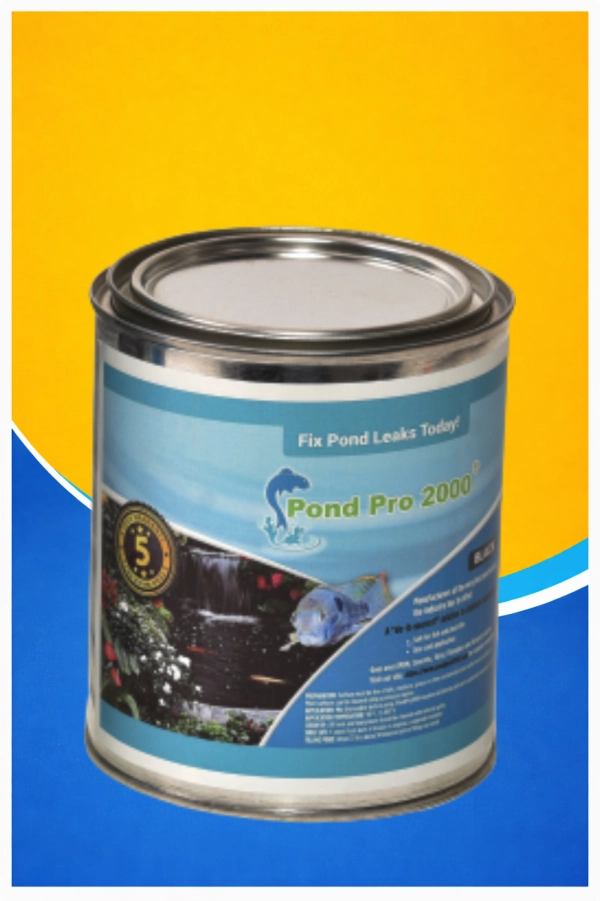
For a permanent fix, you want a liquid pond liner. This stuff is a gamechanger because it creates a chemical bond with your existing surface.
Why Pond Pro2000 Works:
- One-Coat Wonder: You don’t need messy primers or multiple layers.
- Fish Safe: Once cured, it’s completely non – toxic to your koi and aquatic plants.
- Temperature Proof: It stays flexible. It won’t crack in a deep freeze or melt in the blistering sun.
To apply it, just brush the liquid over the puncture or crack. If you’re dealing with a concrete pond with structural cracks, make sure to work the liquid deep into the crevice. It levels itself out, creating a seamless, waterproof skin that’s much tougher than the original liner.
Step 5: Refilling and Relaxing
One of the best things about using a high – quality liquid pond liner is how fast it works. It’s usually waterproof within a few hours, though we always recommend waiting a full 24 hours before refilling the pond completely just to be safe.
Refill slowly and keep an eye on your patch. Once you see the water level holding steady, you can reintroduce your fish and get back to the fun part of owning a pond.
Pro – Tips for Long – Term Success
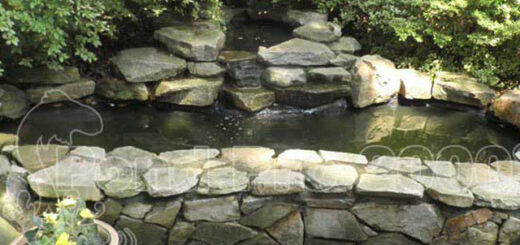
- Keep an eye on the roots: If you have large trees nearby, their roots can eventually punch through even the thickest liners.
- Check your “shelves”: Sometimes rocks on the planting shelves can shift and pinch the liner. Every time you do a spring cleaning, give these areas a quick look.
- Winterize properly: If you live in a cold climate, make sure your pond heater or aerator isn’t resting directly against the liner, as the vibration or heat can cause wear points over time.
The Bottom Line
A leak doesn’t have to be the end of your pond. Whether it’s a tiny pinhole in your EPDM or a hairline crack in your concrete basin, using a dedicated liquid pond liner like pond pro 2000 makes the job simple. It’s about doing it once and doing it right, so you don’t have to worry about it again next season.
Stop fighting the water level and start enjoying your backyard again. Your fish will thank you!