
How to Fix a Leaking Pond Liner Without Replacing the Entire Liner
A leaking pond liner can make the whole pond feel like a lost cause. You top the pond off. A day or two later, the water level drops again. Then you start looking around the edges, checking the pump, staring at the liner, and wondering whether the only real fix is to pull everything out and start over. Sometimes it is not.
If the pond has an EPDM liner and it’s still generally sound, you can repair the damaged areas and protect the existing surface instead of replacing the entire liner. Pond Pro 2000 is designed for use over existing EPDM pond liners and can be used as part of a larger pond repair once the surface is properly prepared. That last part matters more than anything else. The coating is not the first step.
Before You Repair Anything, Find Out Where the Water Is Going
A pond that keeps losing water does not always make the problem obvious. A tear may be easy to see. A small puncture buried in a fold is another story. Seams, overlaps, corners, and areas around pond features can also be worth checking closely.
Take your time here. If you drain the pond and expose the liner, use the opportunity to inspect more than the one spot you suspect. Look along folds. Run your eye over seams Check areas where the liner bends sharply.
Look for loose material, cuts, worn sections, or areas that don’t look like the rest of the liner. If you need to move fish or plants while draining the pond, PondPro2000 recommends keeping them safely out of the work area until the repair and curing process is complete.
It is a bit of extra work. Still easier than replacing a liner that did not need replacing.
Make Sure the Liner Is EPDM
This is not a small detail. Pond Pro 2000 can be used on existing EPDM liners. It is also approved for certain other pond surfaces, including concrete and fiberglass.
PVC is different. PondPro2000 states that the product is not intended for PVC pond liners. So before ordering a pond coating, make sure you know what the existing liner is made from.
If you know the liner is EPDM, then the repair process becomes much clearer. If you are guessing, stop there and identify the material first.
Clean the Area Properly
This is where many repair jobs go right or wrong. A pond liner may look clean after the water is removed, but that does not mean it is ready for coating.
Algae leave a film. Mud finds its way into folds. Loose dirt sits around the damaged area. Old material may still be hanging onto a seam. PondPro2000 says the surface should be clean, dry, and structurally sound before application.
For ponds with fish or plants, the company recommends using water and a soft-bristle brush rather than cleaning products that may leave unwanted residue. Clean farther than the exact leak. That is a good habit.
You don’t want to repair a six-inch area and then discover the roller is picking up dirt from the next section and dragging it into the fresh coating. Once the liner is clean, allow it to dry completely. Not mostly dry. Completely dry.
Pay attention to folds and corners. Water can sit in those areas even when the main surface looks ready.
A Tear Needs More Than a Coat of Liquid Rubber
If you find an actual rip or damaged seam, do not treat it like a scratch in paint. The damaged area needs reinforcement first.
PondPro2000 recommends Butyl tape for tears and similar damage before applying the main coating. The company also offers seam tape for seams and cracks that need extra support. This is worth understanding.
A pond sealant works much better when the damaged area underneath it has already been repaired properly.
You should also remove old caulk rather than coat it over and forget it.
PondPro2000 recommends its compatible MS Modified Sealer for areas such as joints, drains, gaps, and cracks that need detail work before installing the larger coating.
It may feel like you are adding steps. You are really avoiding having to redo the job.
Existing EPDM Liners Need a Flash Coat
This is one part of the process you should not skip. For an existing EPDM liner, PondPro2000’s current application instructions call for a light flash coat before the main coat.
For roughly 200 square feet, the instructions use about 1.5 gallons for the flash coat. That creates a lighter layer of around 6–8 mils. Then you stop. The flash coat needs at least 24 hours to dry before you apply the main layer.
Weather can change that timing. Cooler conditions and higher humidity may slow curing. If the first coat still needs time, give it time.
PondPro2000 specifically warns that applying the main coat before the flash coat has fully dried can cause the existing membrane to wrinkle and may extend the time needed for everything to settle and cure. There is no real advantage to rushing this part.
The Main Coat Comes After the Flash Coat Has Dried
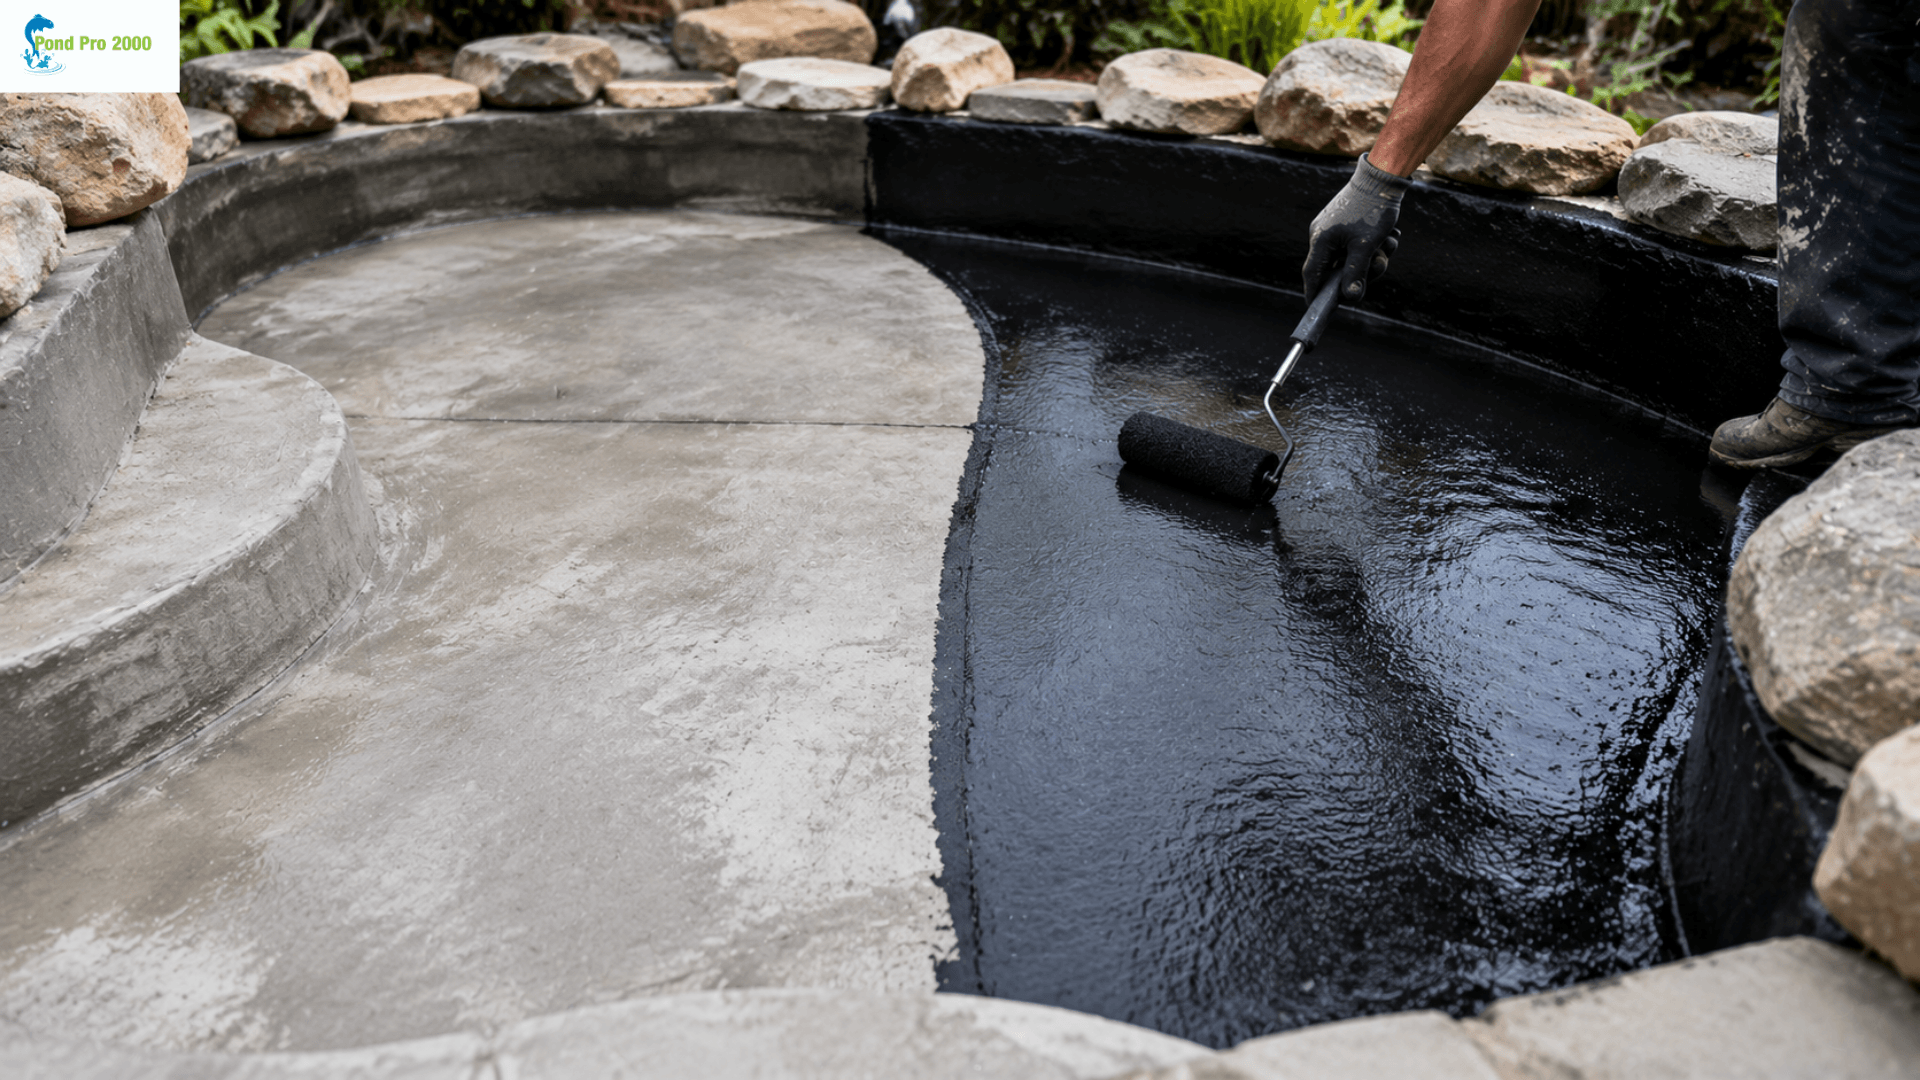
Once the flash coat is ready, you can move on to the main application. For the same approximate 200-square-foot area, PondPro2000’s instructions call for about 2.5 gallons for the main coat, with a target thickness of around 20 mils.
That is a useful number to keep in mind because this is not a job where you are trying to stretch a small amount of material over as much area as possible.
You are building a waterproof surface. The amount of coating matters. So does the way you mix it.
PondPro2000 recommends mixing the material with a drill and gallon mixer attachment for around three to four minutes. The instructions describe creating a vortex and moving the mixer vertically and in a circular motion so the material blends thoroughly. Do that before you start spreading it.
Roller or Brush?
Usually both can be useful. A 3/8-inch roller works well for the larger open areas. PondPro2000’s instructions suggest pouring the material in an “S” pattern over larger sections and then working it across the surface with the roller.
Corners are different. So are walls, tight edges, and small repair areas. That is where a brush is easier to control. There is no prize for forcing one tool to do the whole pond.
Use the roller where it makes sense. Use the brush where the pond’s shape makes the roller awkward.
Do You Need to Coat the Whole Liner?
Not every repair is the same. If one area is damaged and the rest of the EPDM liner is in good condition, you may have a relatively focused pond repair.
An older liner with several questionable areas is different. You may have one repaired seam, another worn section, and a couple of places where the surface has started showing its age.
In that situation, coating a larger area or the entire existing EPDM liner may make more sense than waiting for the next weak point to show up.
PondPro2000’s guidance supports coating existing EPDM rather than automatically removing and replacing it.
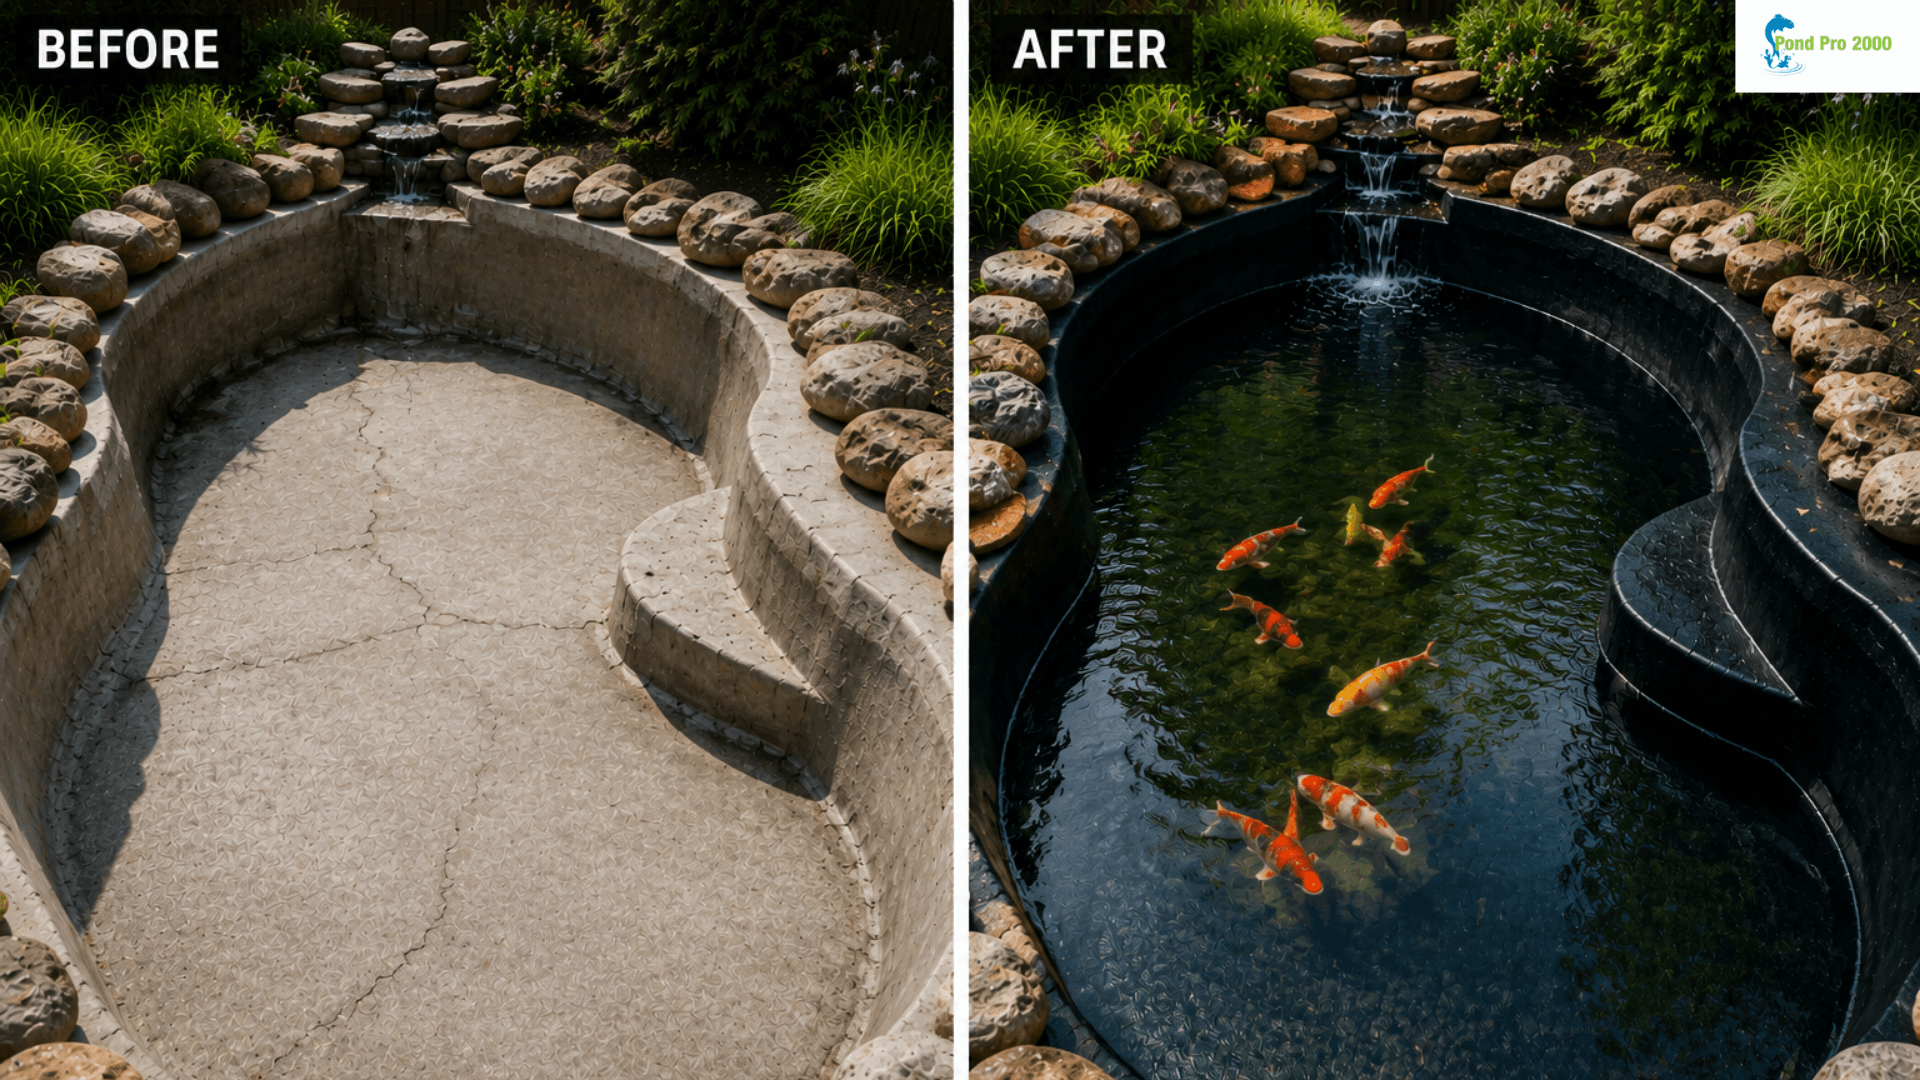
That is the real advantage here. You keep the liner that is already in place and restore the surface instead of turning a repair into a full pond rebuild.
Give the Final Coat Time to Cure
The temptation at the end of the job is obvious. The pond is empty. The liner looks finished. You want the water back in.
PondPro2000’s current application instructions call for a full 48 hours before refilling the pond, assuming temperatures stay above 50°F and the new coating hasn’t been exposed to rain during that curing period.
Once Pond Pro 2000 is cured, the company states that it is safe for fish and plant life. That makes the wait worth it.
Putting water back in early just because the surface looks dry is not the same as letting the coating finish curing.
You May Not Need a New Pond Liner After All
A liner leak is frustrating, but it doesn’t automatically mean you need to dismantle the entire pond. If your EPDM liner is still structurally sound, start with the obvious things. Find the leak.