
How to Repair an Old Plastic Pond Without Removing the Existing Shell
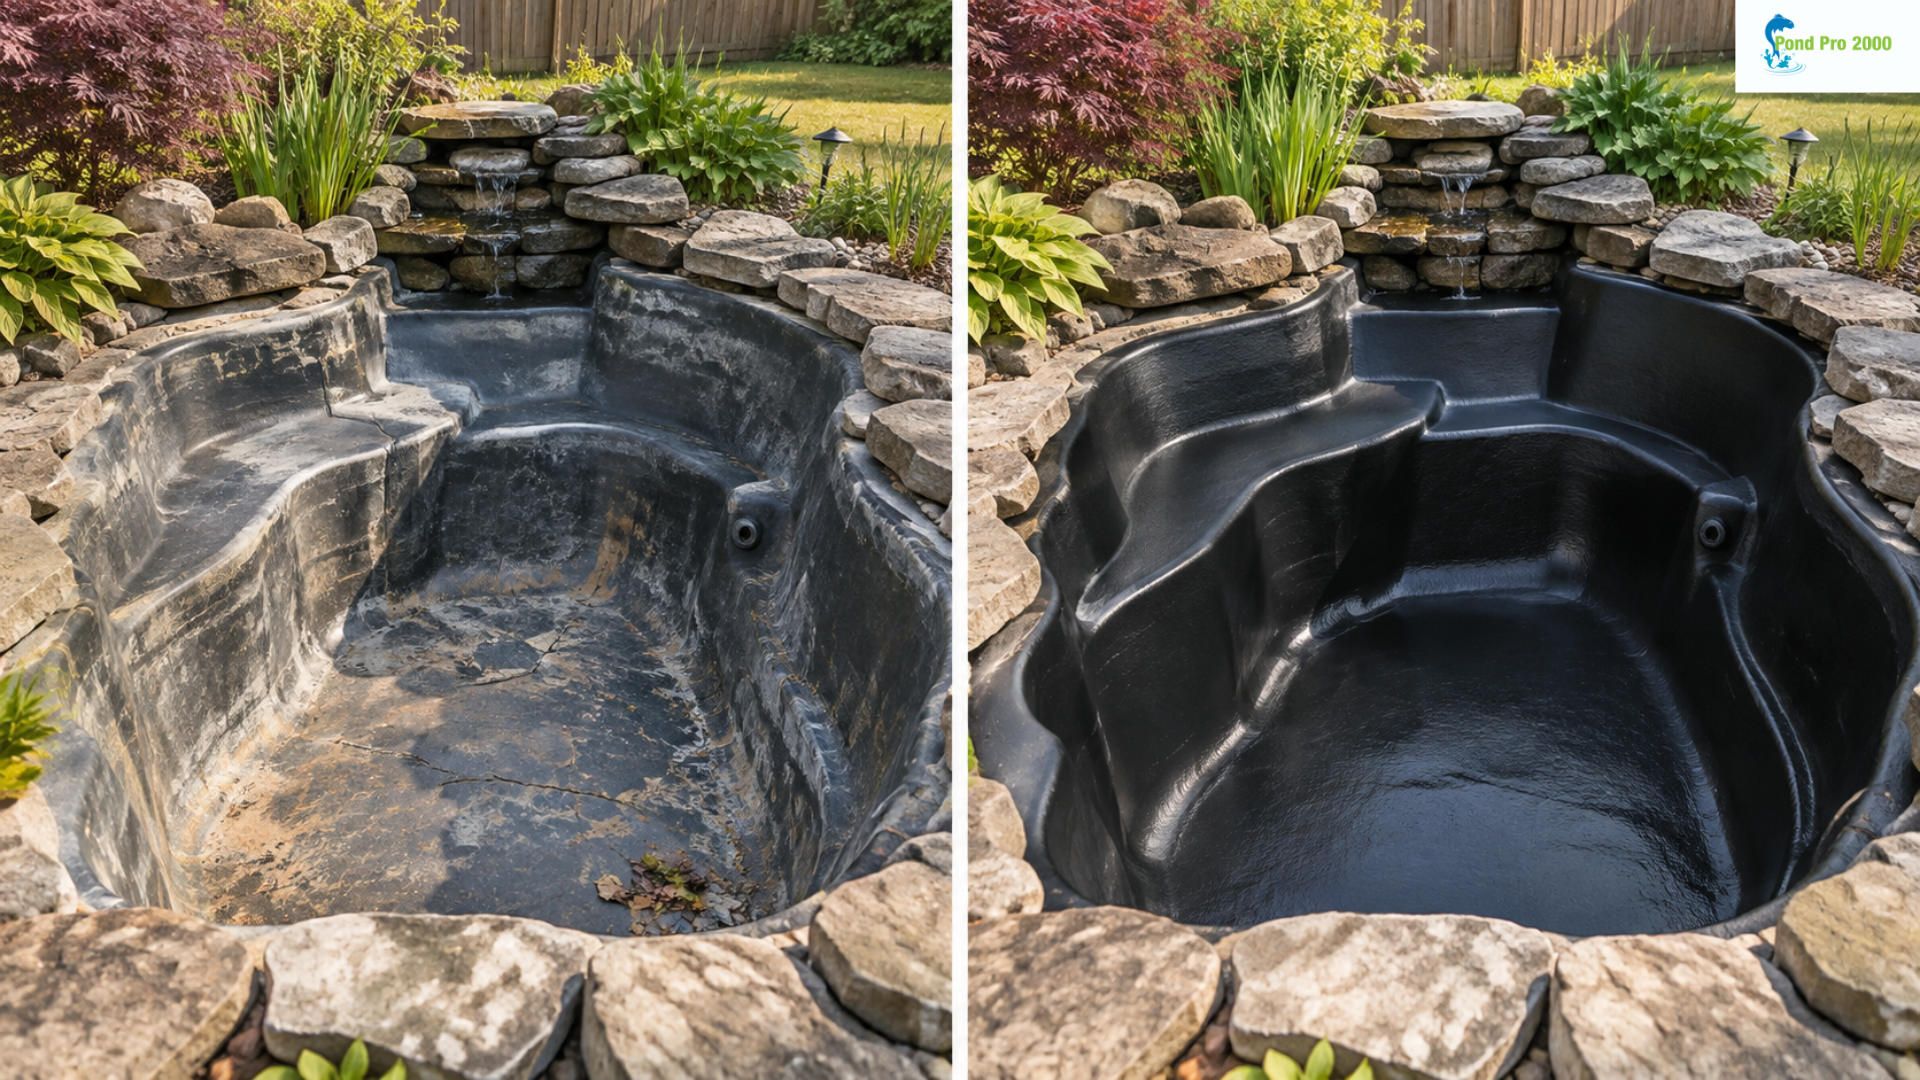
If you have an older plastic pond that has started losing water, replacing the entire shell isn’t the first project you want to take on.
Pulling out an existing pond can quickly turn into a much bigger job than expected. There may be rocks around the edges, plants you want to save, plumbing running underneath, or landscaping that’s been in place for years. And after all of that comes out, you still must install something new.
In many cases, though, the old pond doesn’t necessarily need to be removed just because the surface has aged or developed small leaks. If the shell itself is still usable, you can restore it by repairing problem areas and applying a waterproof pond coating over the existing surface.
That’s where Pond Pro 2000 can make the job much more manageable.
First, Figure Out What You’re Actually Repairing
Before buying materials or starting to coat anything, take a good look at the pond.
Older pond surfaces can show their age in different ways. You might notice a hairline crack, a worn section, an area around a seam that looks questionable, or simply a pond that needs topping off more often than it used to.
Drain the pond so you can inspect the entire shell rather than guessing where the trouble is coming from.
Pay particular attention to corners, joints, edges, and any places that already look worn. It’s much easier to deal with a problem when the surface is exposed, and you can actually see what you’re working with.
The important point here is that an old-looking pond doesn’t automatically mean a failed pond. Sometimes the basic shell is still doing its job; it just needs a new waterproof surface.
Don’t Skip the Cleaning
This is probably the least exciting part of a pond repair, but it’s one worth taking seriously.
The existing pond surface needs to be cleaned and properly prepared before the coating goes on. You’re not trying to cover years of dirt, build-up, or loose material and hope the coating sorts everything out underneath. Start with the shell itself.
Once the pond is empty, clean the surface and work your way around it slowly. This also gives you a second opportunity to spot small cracks or damaged areas you may not have noticed at first.
It can be tempting to rush through preparation because applying the coating feels like the “real” repair. In practice, preparation is part of the repair.
Deal With Cracks and Joints Before Coating Everything
If you’ve found cracks or troublesome joints, take care of those areas before moving on to the full pond.
Pond Pro 2000’s application process includes repairing cracks and joints before the overall coating is completed. That makes sense, especially with an older shell. If there’s an obvious trouble spot, you don’t want to ignore it and concentrate on making the rest of the pond look new.
Hairline cracks and small damaged areas are exactly the kinds of problems that can lead to frustrating water loss. Once those areas have been addressed, you can move on to creating the continuous waterproof surface across the rest of the pond.
You Don’t Have to Tear Out the Existing Shell
This is really the biggest advantage of approaching the job with a liquid pond sealant.
Instead of treating the existing shell as something that has to be removed, you’re using it as the base of the repair.
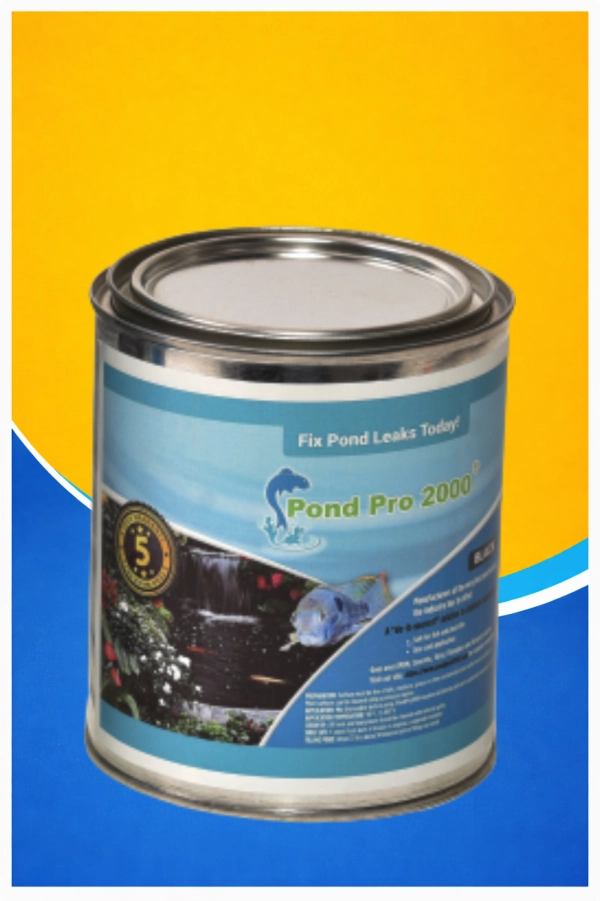
Pond Pro 2000 is a liquid butyl rubber coating designed to create a waterproof barrier over the prepared surface. It’s a one-coat product and doesn’t require a primer.
For someone working on an established backyard pond, that can simplify things considerably. You don’t have to start from bare ground to get a fresh waterproof interior.
Pond Pro 2000 is made for pond and water-feature applications and can be used on surfaces including fiberglass, EPDM, TPO, and concrete. It’s also used for water features such as pools, fountains and waterfalls.
So, while every old pond will look a little different once it’s drained, the overall idea stays simple: keep the usable structure, prepare it correctly, fix the problem areas, and create a new sealed surface over it.
What the New Coating Is Actually Doing
A good pond repair isn’t just about making the inside of the pond look cleaner.
The real reason for applying a coating is to create a protective waterproof layer between the pond structure and the water.
Pond Pro 2000 is designed to be waterproof, elastomeric, and flexible. It’s also listed as puncture-resistant and resistant to UV and ozone exposure.
Those details matter because a backyard pond isn’t sitting inside a controlled environment. It’s outdoors, season after season, exposed to water and sunlight.
A flexible pond coating adds a new protective layer without requiring you to replace the entire pond underneath.
And if you’ve spent years getting the landscaping around your pond exactly how you like it, not disturbing all of that is a meaningful benefit.
What About Fish and Plants?
For koi pond and garden pond owners, this is understandably one of the first concerns.
You aren’t sealing a garage floor. Whatever you put inside the pond will eventually become part of the environment where your fish and plants live.
Pond Pro 2000 is described as fish-safe and non-toxic to fish and plants. That makes it suitable for pond restoration where the newly coated surface will eventually be back in contact with the pond environment.
The key word there is eventually. You still need to let the coating cure properly before returning the pond to service.
Give the Repair Time to Cure
Once you’ve coated the pond, don’t rush straight to the garden hose.
According to the Pond Pro 2000 application information, the coating should be allowed approximately 24 to 48 hours to fully cure.
After spending the time to drain the pond, clean it, repair problem areas, and coat the surface, giving that final step the time it needs is well worth it.
Once cured, the coating becomes the new waterproof surface over the old shell.
That’s the whole point of this kind of repair. You’re not trying to pretend the old pond never existed. You’re taking the pond you already have and giving its interior a new protective barrier.
Make Sure You Have Enough Coating Before You Begin
Running out of material halfway through a pond is one inconvenience that’s easy to avoid.
Pond Pro 2000 lists approximate coverage of:
- 1 gallon for about 40 square feet
- 5 gallons for about 200 square feet
Remember that pond size isn’t just the measurement across the top.
You’re coating the floor, the sides, and the different contours of the pond. An irregularly shaped pond can have more actual surface area than it appears to have when you first look at it from above.
It’s better to calculate the area beforehand than to discover halfway through the application that you underestimated it.
Sometimes Repairing Makes More Sense Than Starting Over
An old pond can be frustrating, especially when you’re constantly wondering where the water is going. But a leak doesn’t always mean the whole pond has reached the end of its life.
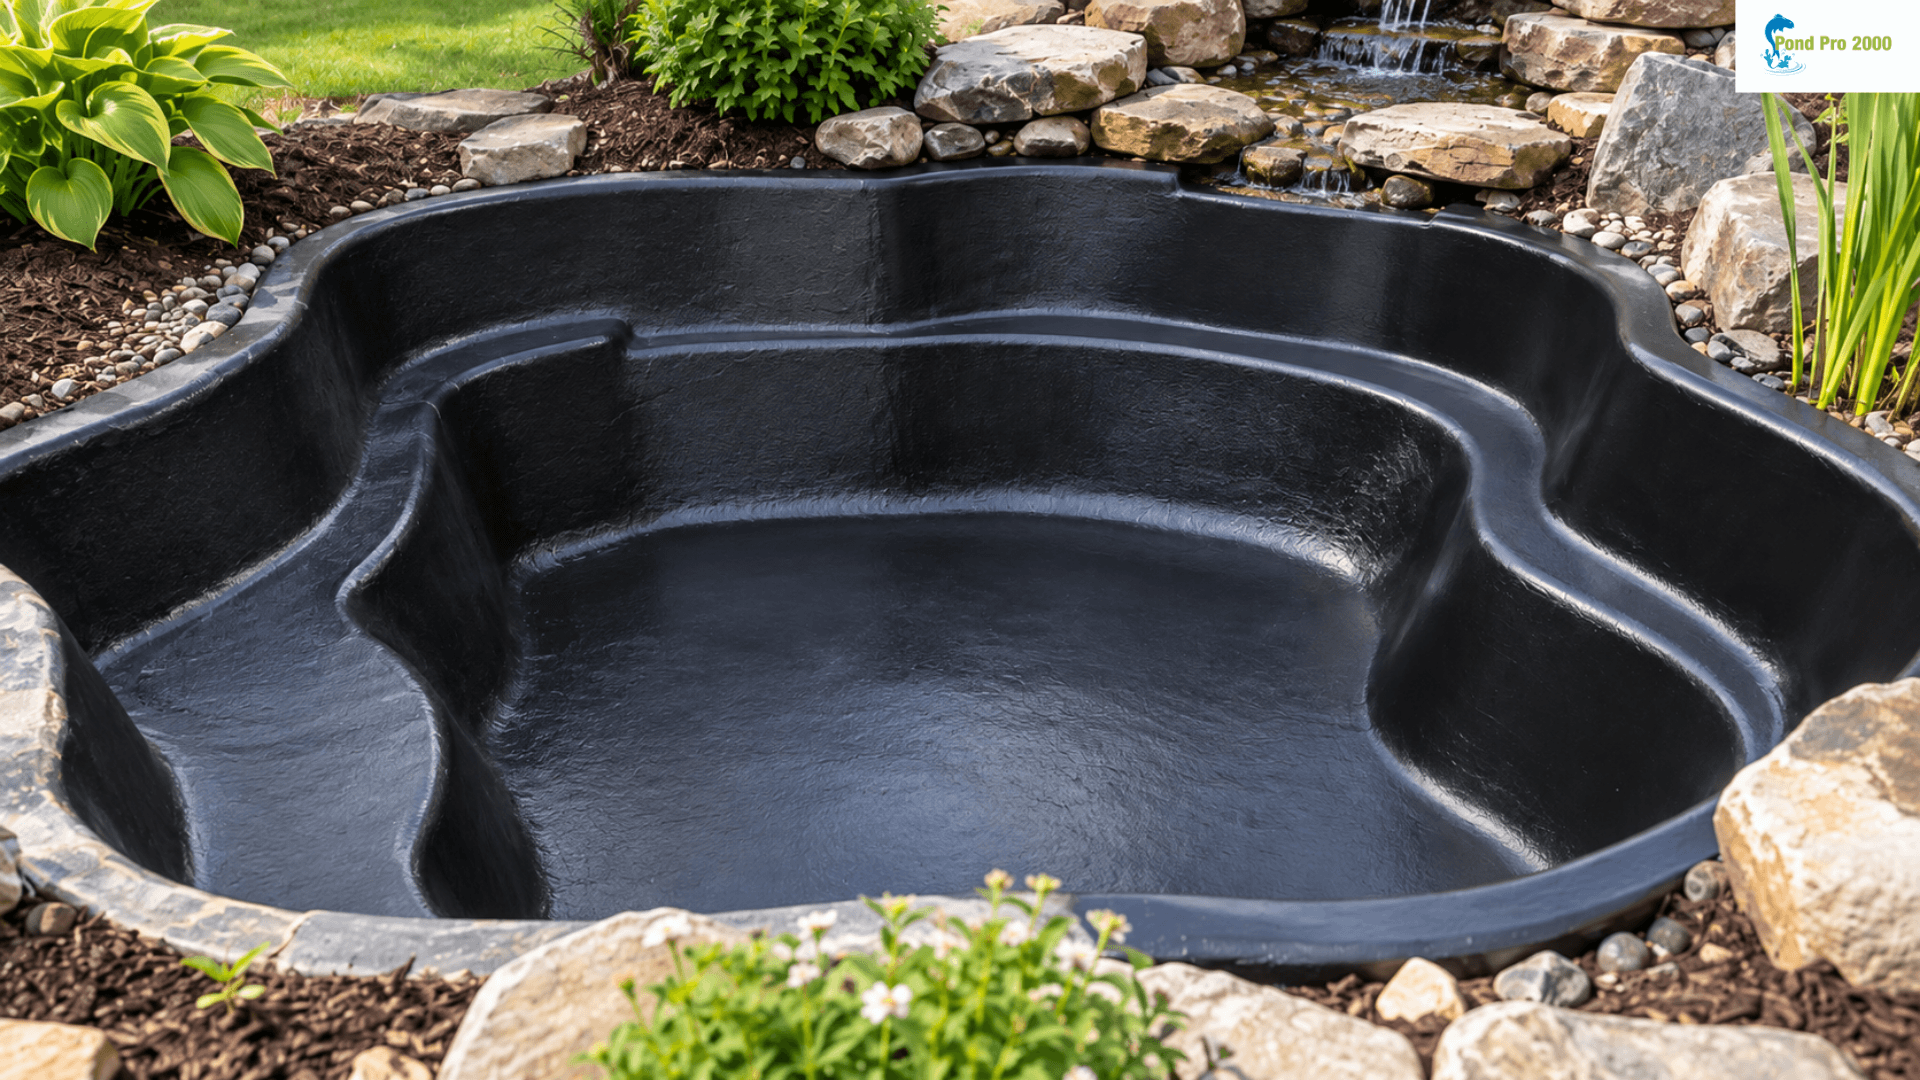
If the existing shell is still suitable to work with, restoring the surface can be a much more practical approach.
Clean it properly. Find the damaged areas. Repair the cracks and joints. Apply the waterproof coating and give it enough time to cure.
Pond Pro 2000 is designed around exactly this type of work: a one-coat, no-primer pond sealant that creates a flexible waterproof barrier while remaining safe for fish and plants once properly cured.
For an older backyard pond, that can mean keeping the shape, landscaping, and setup you already like while dealing with the part that’s causing the trouble.
Before assuming your old plastic pond needs to be pulled out and replaced, take a closer look at the shell. You may not need a new pond at all. You may need to give the old one a new waterproof surface.