Backyard Pond Leak Repair: How to Seal the Bottom Safely
A backyard pond should be relaxing. You should be able to enjoy the sound of the water, the fish moving around, and the way the whole space feels calm at the end of the day. But when the water level keeps dropping, that peaceful pond quickly turns into a problem you keep thinking about.
At first, it may not seem like much. You add a little water and move on. Then, a few days later, the level is low again. After that, you start checking the pump, the waterfall, the rocks around the edge, and finally the bottom of the pond. That is when the real question comes up: Is the pond leaking from underneath?
A bottom leak can feel difficult because it usually means draining the pond, moving fish or plants, cleaning the surface, and working in the lowest, wettest part of the pond. But it does not always mean the whole pond needs to be replaced. With the right prep work and coating, many pond owners can safely seal the bottom and get the pond holding water again.
For compatible pond surfaces, pond pro 2000 is designed to create a flexible, waterproof membrane that helps prevent leaks and protect the surface after repair.
Make Sure the Leak Is Really at the Bottom
Before you drain everything, slow down and confirm where the water is actually escaping. Pond leaks can be tricky. Sometimes the bottom looks like the problem, but the leak is really around a waterfall, hose connection, side wall, rock edge, or overflow area.
One simple way to check is to watch where the water level stops. If the pond drops only to a certain point and then stays there, the leak may be around that level. If the water keeps dropping toward the bottom, the lower pond surface deserves a closer look.
Also, check the areas around fountains, returns, filters, and any places where water enters or leaves the pond. These spots are easy to overlook. Finding the leak before you begin saves time, product, and frustration.
Protect Fish and Plants Before You Start
If your pond has fish, plants, frogs, turtles, or tadpoles, do not start coating while they are still inside. The repair area needs to be clean and dry, and the pond needs time to cure before it is refilled.
Move fish and plants into a safe temporary container with pond water when possible. Keep the container shaded and make sure the fish have enough oxygen. This extra step may feel like a hassle, but it is much better than rushing the repair and stressing the pond life.
Pond Pro 2000 is considered safe for fish and plant life once it has fully cured. Still, the repair should be done carefully, and the coating should be given the full cure time before the pond is filled again.
Drain the Pond and Inspect the Bottom Closely
Once the water is low enough, inspect the bottom in good light. Do not just look quickly from one side. Leaks can hide in folds, corners, seams, and rough spots.
If your pond has an EPDM liner, check for small holes, worn areas, wrinkles, tears, or spots where stones may have pressed against the liner. Bottom folds can hide damage, so open them gently and look closely.
If your pond is concrete, look for hairline cracks, loose old coating, rough areas, holes, or spots that feel weak. Concrete pond bottoms can leak through cracks that look small at first. Any loose surface material should be removed before coating.
This is the point where proper pond repair starts. The goal is not just to cover the leak. The goal is to prepare the bottom so the coating can bond well and create a dependable, sealed surface.
Clean the Bottom, as the Repair Depends on It
The bottom of a pond collects everything: dirt, algae film, leaves, plant material, sludge, and loose particles. If that buildup remains beneath the coating, the repair may not hold as it should.
The surface should be clean, dry, and structurally sound before Pond Pro 2000 is applied. For ponds with fish or plants, avoid detergents. A soft-bristled brush and clean water are recommended, as cleaner residue can be harmful to pond life.
Scrub the area well. If you are coating the whole bottom, clean the whole bottom. Do not only scrub the crack, but also leave the surrounding area dirty. When you roll or brush the coating, any loose dirt can get pulled into the material.
Remove loose caulking and replace it with compatible MS Butyl caulk where needed. If the old coating is peeling or loose, scrape or wire brush it away. If there are metal areas with rust, loose rust should also be removed before coating.
This step is not fancy, but it is one of the biggest reasons a repair lasts.
Let the Surface Dry Fully
After cleaning, give the pond bottom enough time to dry completely. This is not the step to rush. Pond Pro 2000 should not be applied over a damp surface. Low spots, corners, cracks, and folds may hold moisture longer than the open areas. Check them carefully before you start.
If the surface looks dry but still feels damp in the cracks or seams, wait longer. A dry surface gives the coating a much better chance to bond properly.
Repair Weak Spots Before Coating the Bottom
If there is a visible tear, joint, crack, or gap, handle it before the main coating goes on. Do not assume a full coat will solve every weak point on its own.
For tears or rips, the application guidance mentions coating down the middle with Butyl tape. Joints and cracks should be caulked before coating. Loose caulking should be removed first and replaced with compatible material.
This gives the damaged spot extra attention before the larger coating layer is applied. It is a better approach than simply rolling over the problem and hoping it disappears.
Use a Pond Sealant Made for Water Exposure
A pond bottom is not like a dry patio or wall. Once the pond is filled, that surface stays underwater. It also addresses sunlight, temperature changes, water pressure, and movement within the pond structure or liner.
That is why the coating you use matters. A proper pond sealant needs to be waterproof, flexible, and made for pond conditions after curing.
Pond Pro 2000 is a Butyl Liquid Rubber coating. The catalyst is already incorporated into the can, so there is no separate catalyst to mix in. As it cures, the material chemically cross-links and bonds to the surface. Once cured, it forms a seamless waterproof membrane.
That seamless finish is especially helpful on pond bottoms because the surface is often uneven. There may be corners, curves, slopes, folds, or rough concrete areas that are hard to fix with a simple patch.
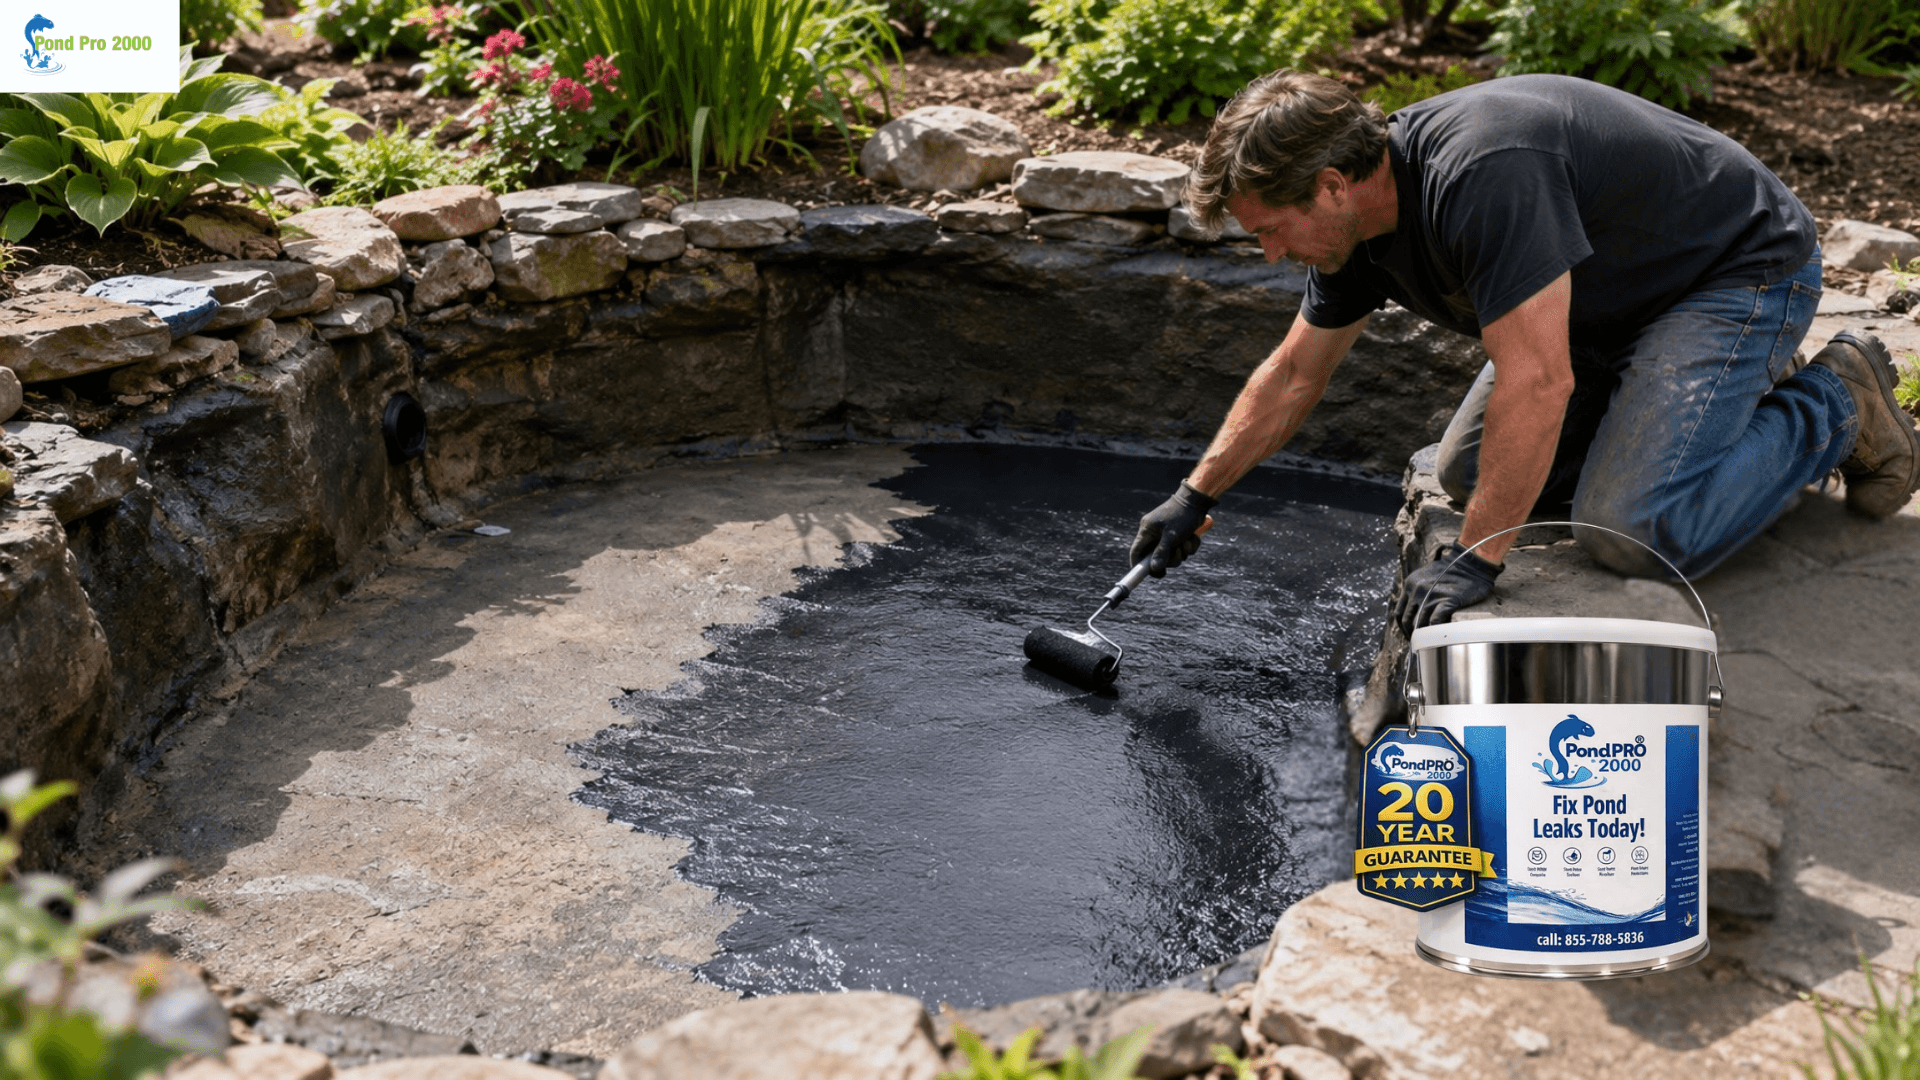
Apply the Coating With Patience
Before applying, mix Pond Pro 2000 using a drill with a mixer attachment. Hand mixing is not recommended. The instructions recommend mixing for about 3 to 4 minutes to ensure the material is blended evenly.
For flat-bottom areas, use a 3/8-inch nap roller. For corners, edges, tight areas, vertical sections, and small detailed spots, use a brush. For larger sections, the coating can be poured in an S-shaped pattern and then rolled out.
On smooth surfaces, coverage is generally about 40 square feet per gallon at the normal application thickness. Rougher surfaces may need more material, so do not estimate only by pond size. Look at the actual surface condition.
If the bottom is an EPDM liner, follow the flash coat guidance. A very light flash coat should be applied first and allowed to dry fully before the main coat. If the flash coat is not fully dry, the main coat may wrinkle and need more time to settle and dry.
Wait Before Refilling the Pond
Once the coating is down, the pond still needs time. The instructions recommend waiting a full 48 hours on a day above 50 degrees before filling the pond, provided it has not rained during that time.
Even though the coating can waterproof within a few hours under the right conditions, refilling too early is not worth the risk. Cooler weather, humidity, or rain can slow the curing process. When conditions are not ideal, give it more time.
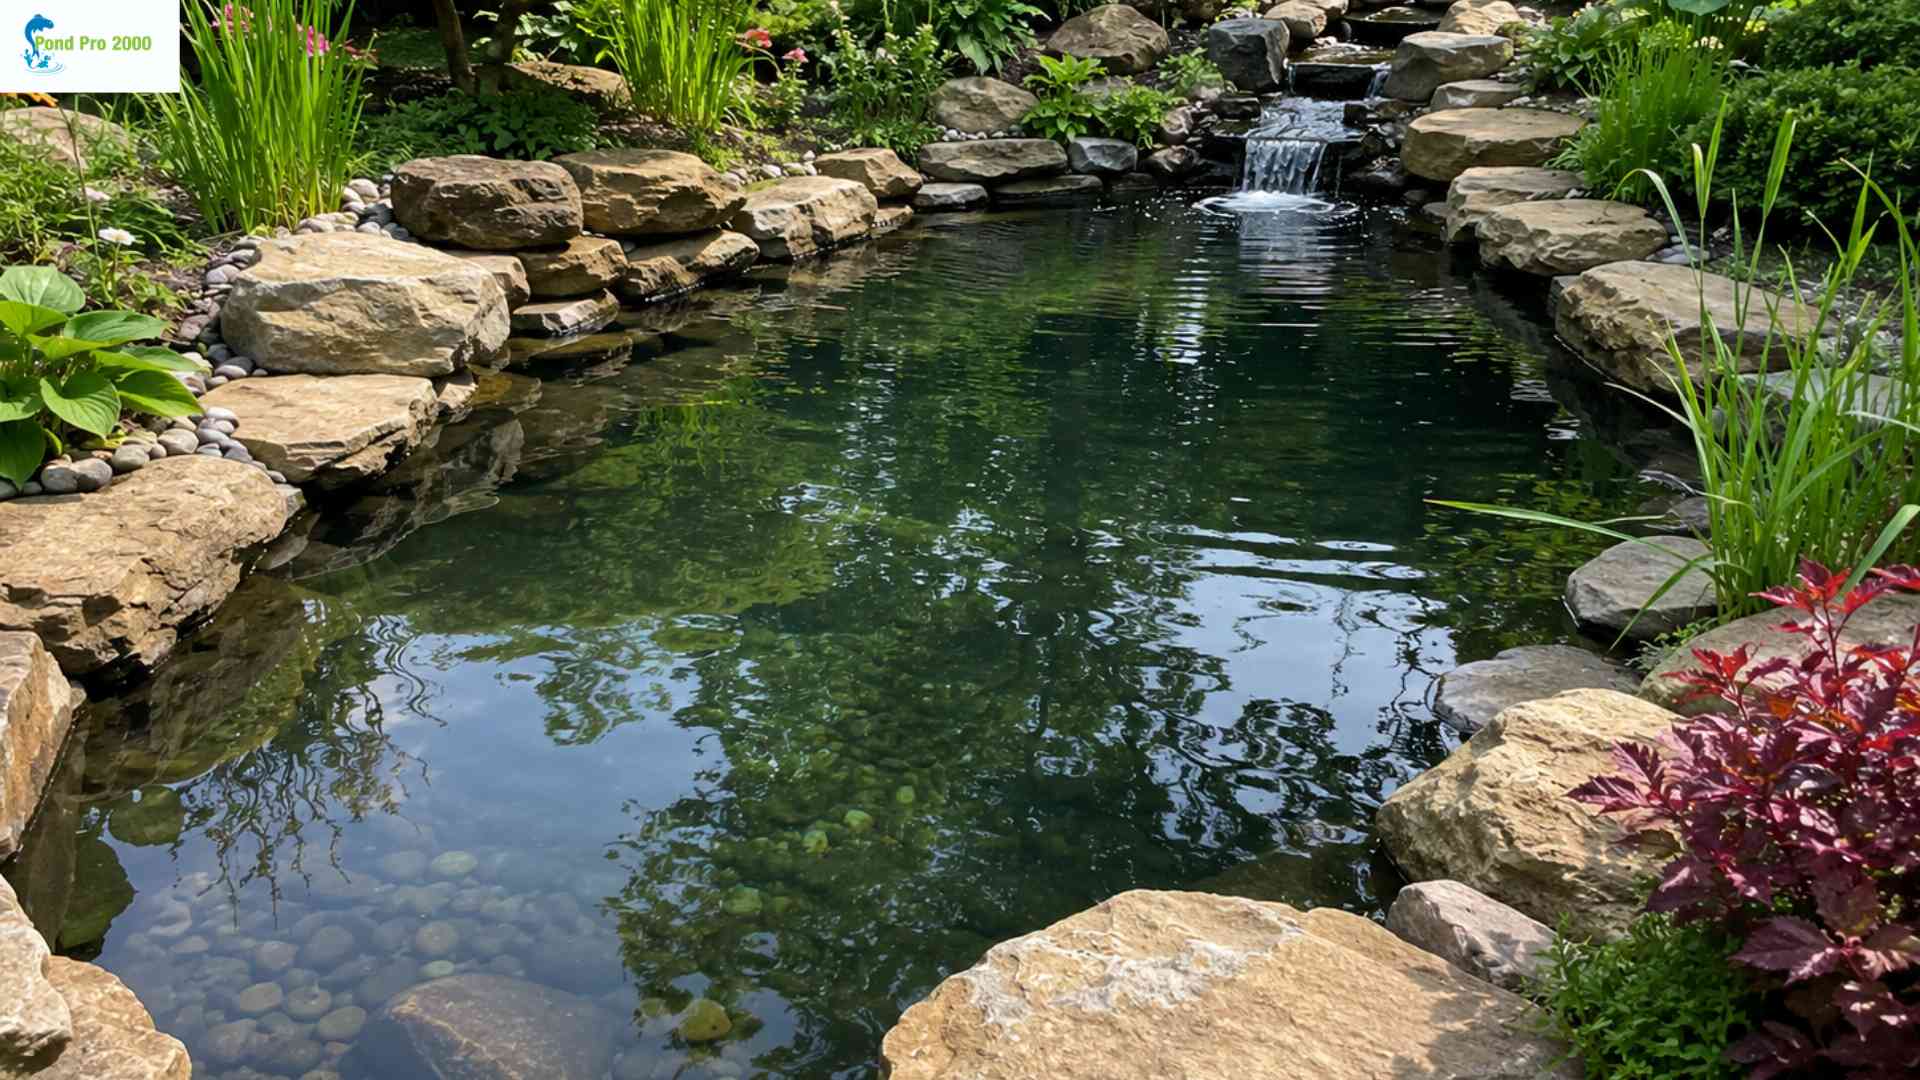
After curing, refill the pond slowly. Watch the repaired area and check the water level before moving fish and plants back in.
Final Thoughts
A bottom leak can make any pond owner nervous, but it can often be repaired with a careful process. The important part is not to rush. Find the leak, move pond life safely, clean the bottom, let it dry, repair weak spots, apply the coating properly, and wait for the cure time to pass.
pond pro 2000 gives pond owners a practical one-coat, no-primer option for compatible surfaces, including concrete ponds, existing EPDM liners, fiberglass liners, fountains, and reflecting pools.
A good repair takes patience, but it is worth it. Once the pond holds water again, you can stop topping it off every few days and get back to enjoying the space the way it was meant to be enjoyed.