
How to Fix a Leaking Pond Liner Seam | Best Sealant for Long – Lasting Repair
If you’ve ever walked out to your pond and noticed the water level slowly dropping, you know that slightly sinking feeling. Most of the time, it’s not a dramatic burst or visible hole – it’s something much smaller and trickier… a leaking seam in the liner.
These seams are supposed to hold everything together, but over time they start to give up. Sun, pressure from water, temperature swings – it all adds up. And once that seal weakens, water finds its way out little by little.
The good news? In most cases, you don’t need to tear everything apart or rebuild the pond. You need to fix it the right way, with the right material. Let’s break it down in a simple, real – world way.
Why do pond liner seams start leaking
Most people assume the liner just “failed,” but it usually doesn’t happen overnight.
What really happens is gradual wear:
- The seam gets stressed every time the water level shifts.
- Sunlight slowly dries and weakens exposed edges.
- Hot and cold weather make the liner expand and contract.
- Old installation glue or bonding starts losing its grip.
- Dirt and algae slowly break down the seam edge.
So, by the time you notice it, the leak has probably been going on for a while.
How to figure out if it’s really a seam leak
Before you start repairing anything, it helps to be sure where the water is escaping from.
A few simple checks usually help:
- Watch the water level for a day or two and see how fast it drops.
- Walk around the pond edges and look for damp soil spots.
- Gently press around the liner seam – loose areas can feel “off”
- Check corners and overlaps carefully (most leaks start there)
Once you’ve found the exact area, don’t rush. A clean repair depends more on prep than anything else.
Fixing a leaking pond liner seam (step – by – step)
This is where most people either fix it permanently… or accidentally make it worse.
1. Lower the water level
You don’t need to drain the whole pond, just enough so the seam is fully exposed and easy to work on.
2. Clean it properly (this part matters more than people think)
Take your time here. Remove slime, algae, dirt – anything that can stop the seal from bonding properly.
If the surface isn’t clean, even the best product won’t last.
3. Check how bad the seam is
Sometimes it’s just slightly open. Other times, the overlap has fully separated. The approach changes depending on this.
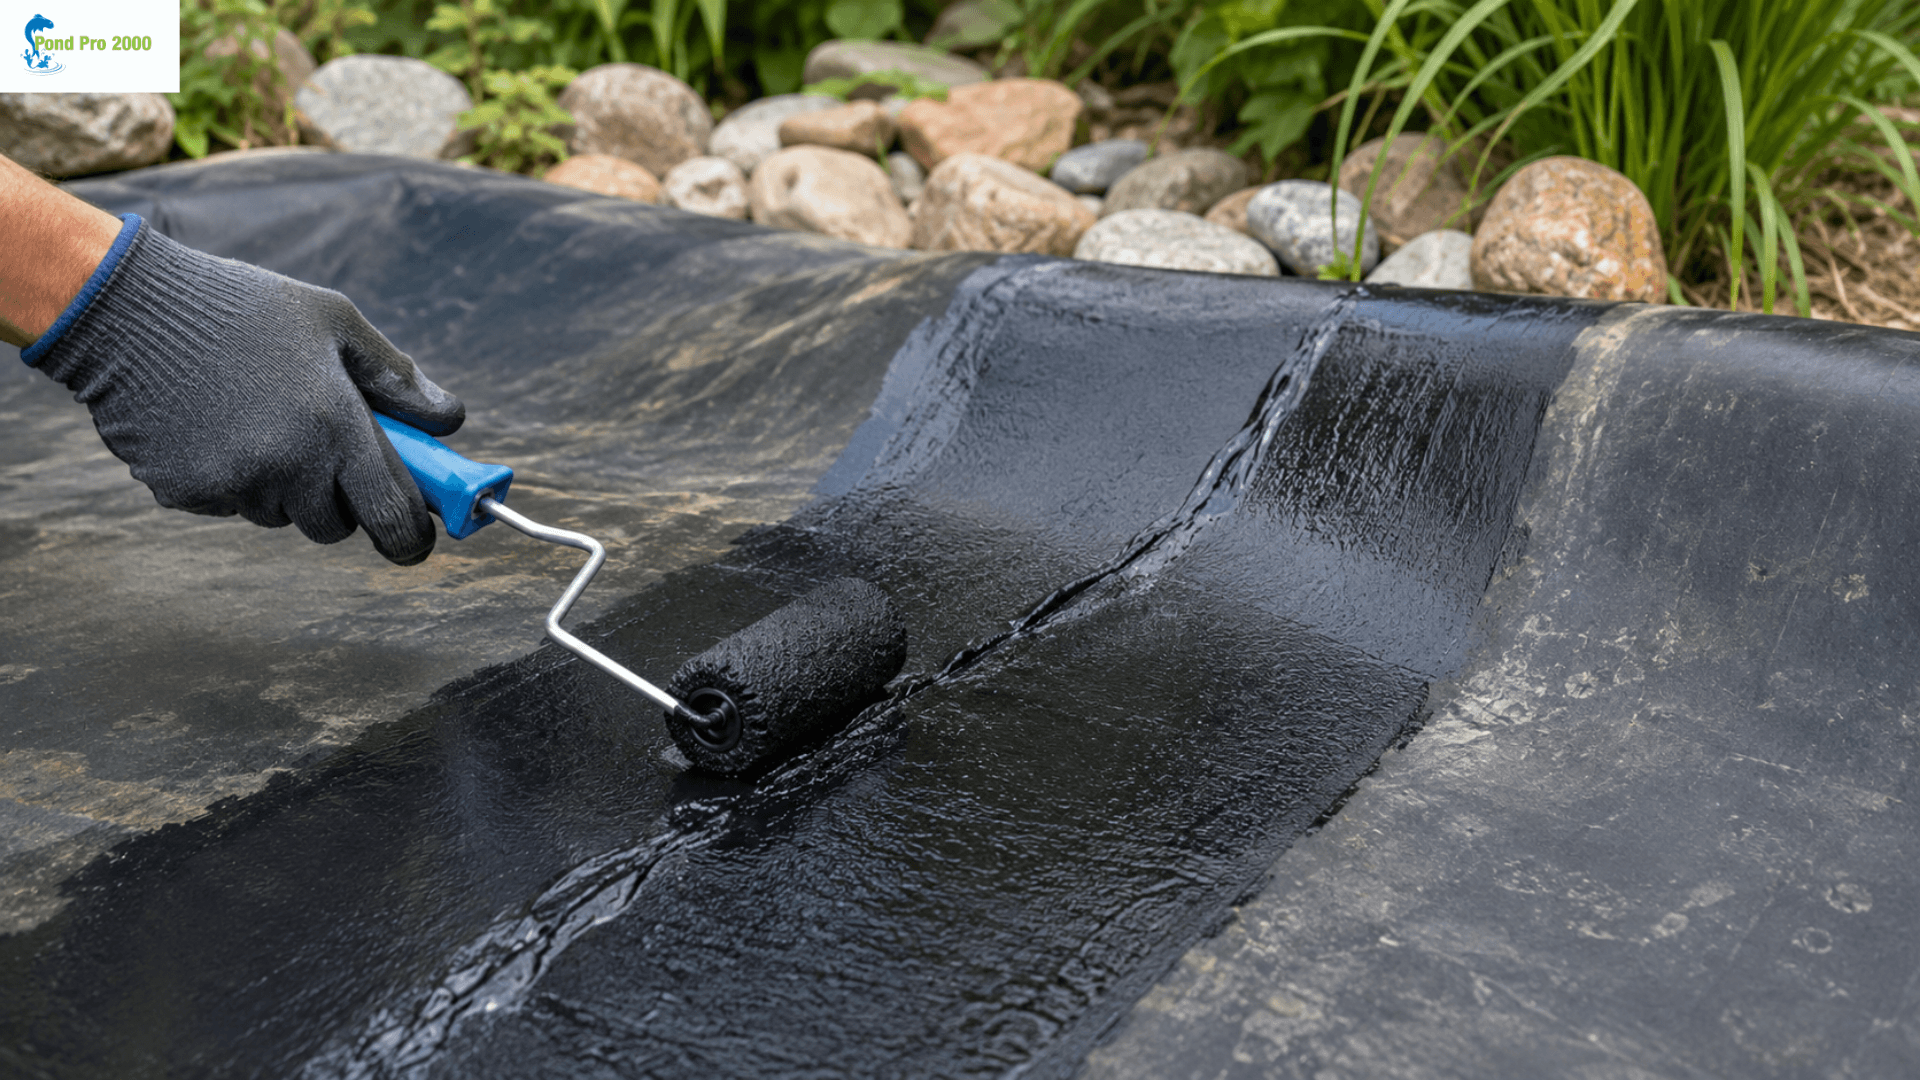
4. Apply a proper pond – grade sealant
This is where most DIY fixes fail – people use random adhesives that aren’t made for constant water exposure.
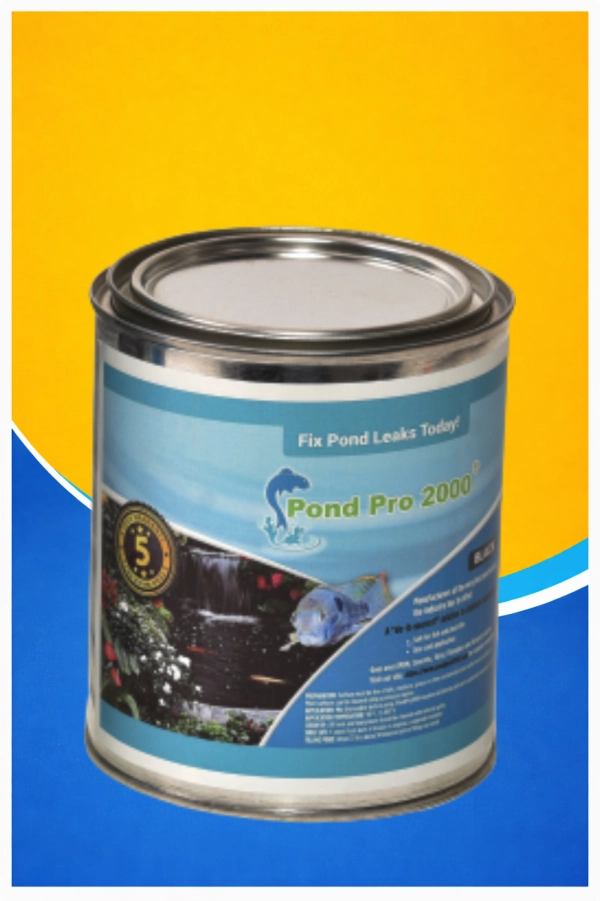
A much more reliable option is using pond pro sealant, which is designed specifically for pond liner repairs. It bonds properly with the liner material and holds up under long-term water pressure.
5. Press and hold the seam together
Don’t just apply and walk away. Press it down firmly so the sealant spreads evenly and fills every gap.
6. Let it cure fully (don’t rush this)
This is probably the most ignored step. If you refill too early, the repair weakens fast. Give it enough time for the bond to set.
Choosing the right sealant makes all the difference.
You can do everything right, but if the product is wrong, the leak will come back. That’s why people move toward more reliable pond-specific solutions like Pond Pro Coating. It doesn’t just patch the problem – it helps create a protective layer over vulnerable areas, so they don’t fail again as quickly.
A good pond sealant should:
- Stay flexible even after drying.
- Handle constant water exposure.
- Resist UV damage from sunlight.
- Stick properly to the liner surfaces.
- Last longer than basic adhesives
If it can’t do those things, it’s usually just a temporary fix.
A more solid repair approach (not just patching)
Sometimes the issue isn’t just one seam – it’s the whole stressed area around it. That’s where a more complete system like pond pro repair makes sense. Instead of chasing leaks one by one, it focuses on reinforcing the weak zones, so you’re not fixing the same problem again next month.
It usually helps with:
- Strengthening worn seam areas
- Sealing hidden micro-leaks
- Reducing future water loss
- Extending overall liner life
Think of it less as a patch and more as a way to stabilize the pond’s structure itself.
Mistakes that quietly ruin most pond repairs
This is where most DIY fixes go wrong:
- Applying sealant on a wet or dirty liner
- Using household glue instead of pond – safe products
- Skipping the curing time because of impatience
- Ignoring slightly damaged areas nearby
- Not pressing seams tightly after applying sealant.
Even one of these can cut the repair life in half.
How to avoid seam leaks in the future
Once you fix it, a little maintenance goes a long way:
- Check seams every few months (a quick visual check is enough)
- Keep edges clean and free from heavy debris.
- Avoid sharp objects near liner borders.
- Maintain stable water levels when possible.
- Reapply protective coating when signs of wear appear.
Small habits prevent big repairs later.
Final thoughts
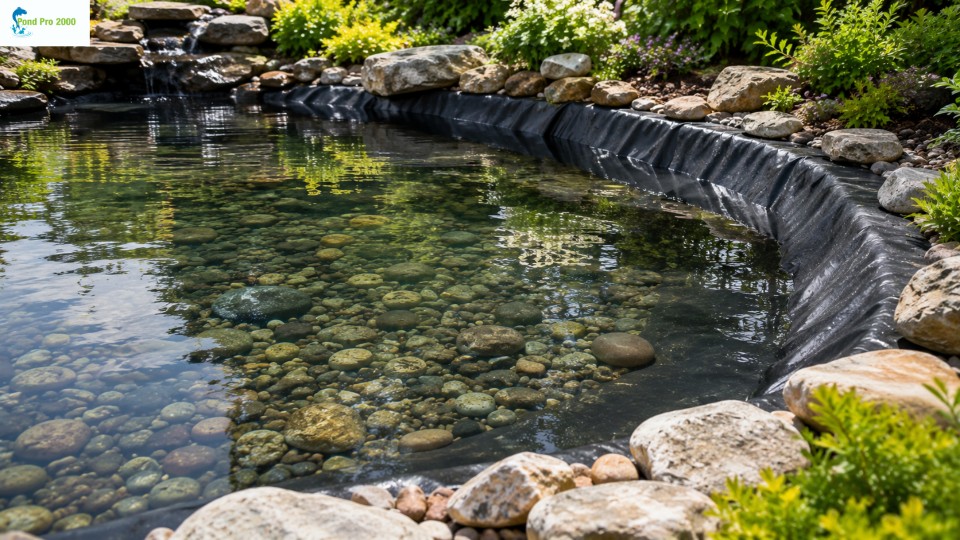
A leaking pond liner seam looks like a big problem at first, but in reality, it’s usually very fixable if you catch it early and use the right material. The key isn’t overthinking it – it’s preparation, patience, and using proper pond – specific products instead of general – purpose sealants. Solutions like pond pro sealant, Pond Pro Coating, and Pond Pro Repair are designed exactly for this kind of issue, where durability matters more than a quick patch. Fix it properly once, and you don’t have to keep going back to it every season.