Durable DIY Solutions for Cracked or Leaking Ponds
One day, it looks fine. The next day, the water line is lower than it should be. You top it off, check it again, and a few days later, it has dropped again. At first, you may blame the heat, the wind, or the waterfall. And sometimes that is exactly what it is. But when the water keeps disappearing, there is a good chance the pond leaks somewhere. The hard part is finding it.
A pond leak does not always show itself clearly. It can be a small tear under a rock, a crack in the concrete, a weak spot near the edge, or a problem around a pipe or waterfall. Sometimes the damage is right in front of you, but algae, plants, or debris cover it.
The good news is that a cracked or leaking pond does not always mean you need to rebuild everything. If the pond is still in decent shape, a careful DIY repair can often solve the problem. With the right preparation and coating made for pond use, you can seal the damaged area and protect the surface from long-term water exposure.
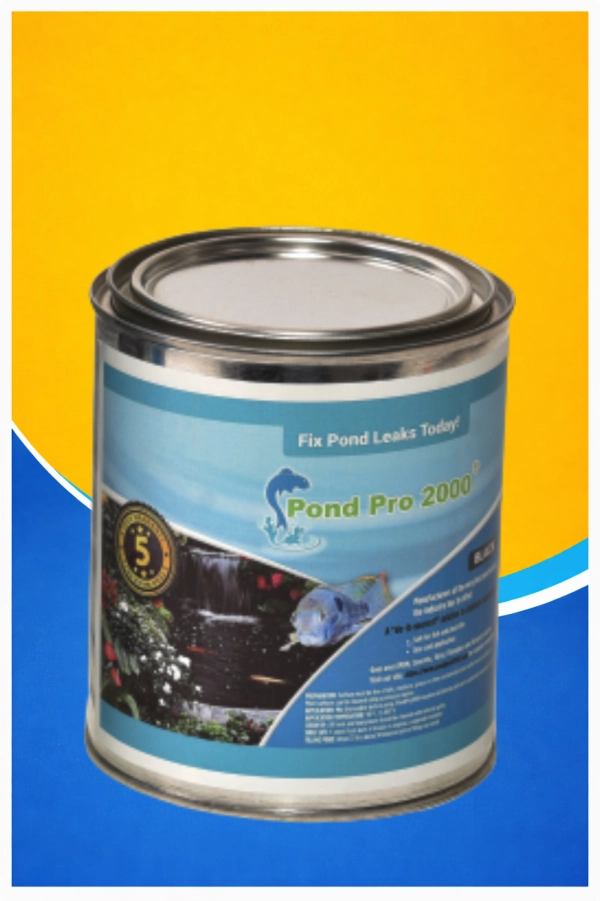
That is where Pond Pro 2000 can be a practical option for homeowners who want a strong pond coating without making the repair more complicated than necessary.
Make Sure It Is Really a Leak First
Before draining the pond or starting repairs, take a moment to confirm where the water loss is coming from. Ponds naturally lose some water, especially during warm or windy weather. Fountains, waterfalls, splash-out, and plants can also lower the water level. So before assuming the pond is cracked, shut off the pump or waterfall for a short time and watch what happens.
If the water level holds steady with the pump off, the problem may be in the plumbing, the waterfall, or the return line. If the water continues to drop, the pond shell or liner is more likely the issue.
This small step can save a lot of unnecessary work. You do not want to coat the pond bottom only to find out later that the leak was coming from a loose fitting behind the waterfall.
Look in the Places That Usually Fail First
Once you know the pond itself is losing water, start with the most likely problem areas. Most pond leaks happen where the surface is under stress. Check the corners, edges, shelves, steps, drains, plumbing openings, and waterfall areas. If you have rocks in the pond, look around and under them to see if they can be moved safely.
Rocks can be a big reason liners get damaged. A sharp edge may press into the liner for months before it finally creates a small tear. The opening may be tiny, but water does not need much space to escape.
Concrete ponds can fail differently. They may develop hairline cracks from age, ground movement, or freeze-and-thaw weather. A thin crack might not look serious, but if it runs deep enough, it can slowly drain the pond. Also, look at any old repair areas. If a patch, caulk, or tape was used years ago, that spot may be wearing out again.
Clean the Surface Better Than You Think You Need To
This is the step most people want to rush. It is also the step that makes or breaks the repair. A pond coating needs a clean, dry, solid surface. Algae, slime, loose material, dirt, wax, oil, and old caulk can all stop the coating from bonding properly. If the coating cannot grip the surface, the repair may not last.
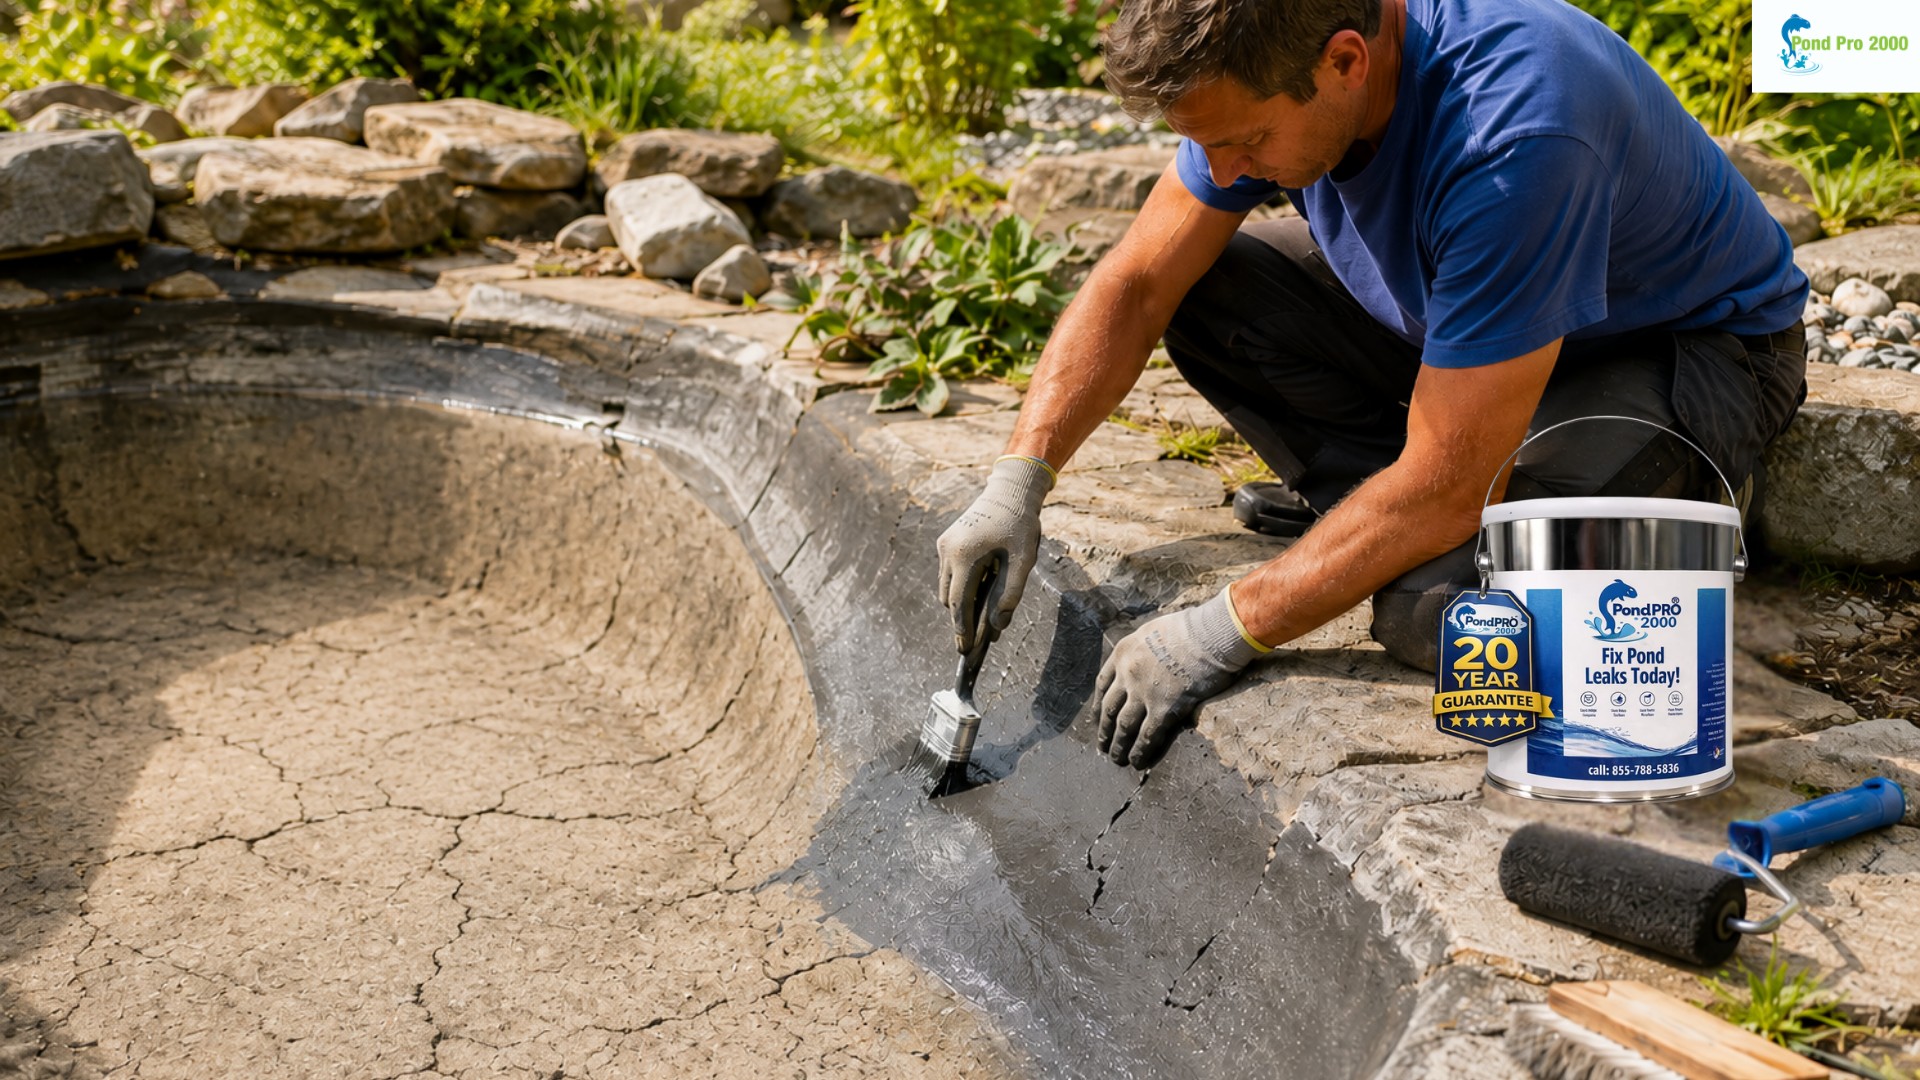
Drain the pond enough to expose the damaged area. If you are planning to coat the full pond, drain it completely. Scrub away algae and buildup. Depending on the condition of the surface, you may need a brush, scraper, or pressure washer.
Any loose caulking should be removed. PondPro2000 recommends replacing loose caulk with MS Butyl caulk because it has been field tested for compatibility with PondPro. Oil or wax should also be fully removed before coating.
It is not the most enjoyable part of the job, but it matters. A clean surface gives the coating a real chance to bond. A dirty or damp surface usually leads to disappointment later.
Do Not Just Paint Over a Tear
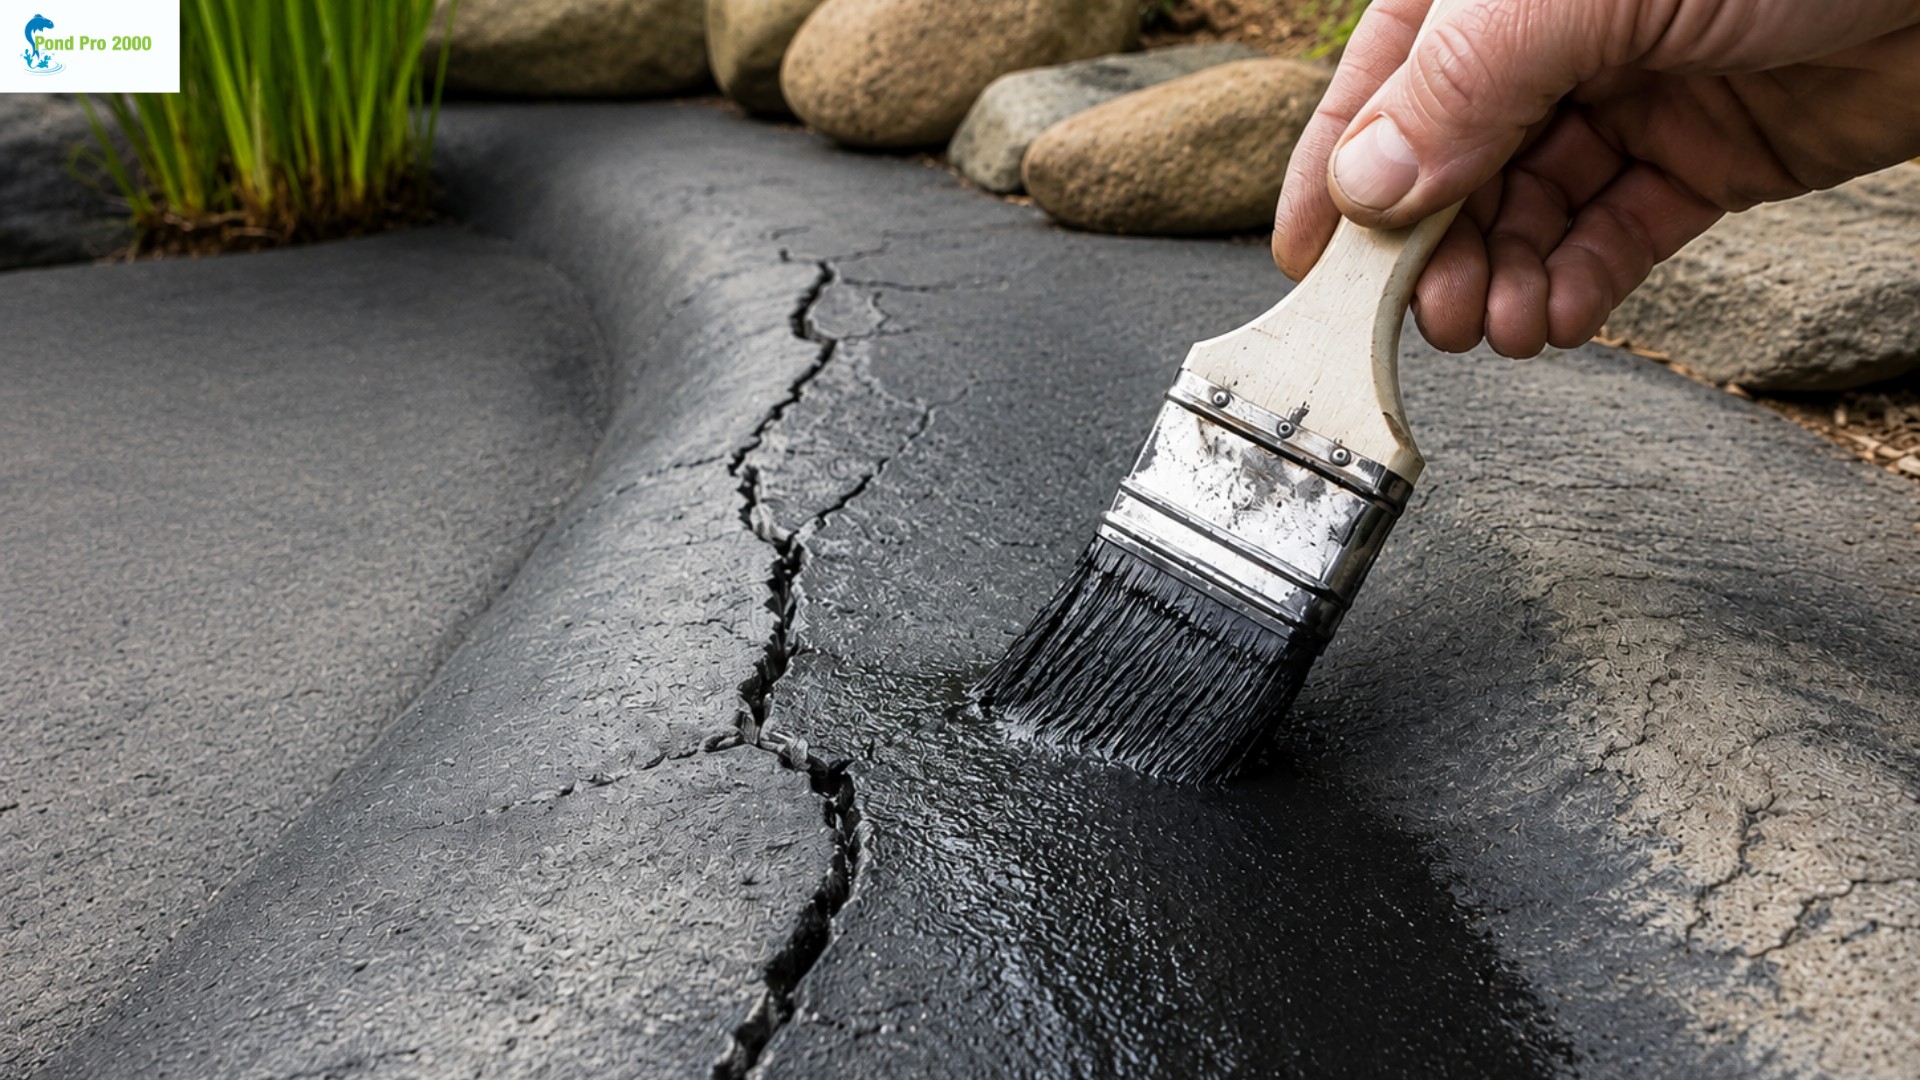
If you find a rip in the liner, do not simply roll the coating over it and hope it holds. A tear needs support first. For rips or open splits, apply butyl tape over the damaged area before applying Pond Pro 2000. The tape helps bridge the tear, and the coating seals over it to create a stronger, waterproof repair.
Think of it like patching fabric. If there is a hole, you do not just paint over the opening. You reinforce it first, then seal it. A pond liner is similar. It moves, stretches, and holds water pressure, so the repair needs to be stronger than a surface-only cover-up.
For concrete cracks, clean out any loose material and ensure the area is stable. Small cracks can often be handled with proper surface preparation and coating. Larger cracks or shifting concrete may need structural attention before coating.
Why PondPro 2000 Fits This Kind of Repair
A pond is a tough place for any coating. The surface stays wet, sits outdoors, is exposed to sunlight, temperature changes, water pressure, and sometimes fish or plants. Regular paint or a quick patch is usually not enough.
Pond Pro 2000 is made as a pond sealant and coating. It is designed for pond surfaces such as EPDM and fiberglass liners, as well as concrete ponds. In many applications, it does not need a primer.
For EPDM liners, PondPro2000 recommends applying a light flash coat first and letting it dry before applying the main coat. This helps with the application and gives the coating a better foundation.
Coverage also matters. On a smooth surface, one gallon covers about 40 square feet at a normal 20-mil application rate. That is important because this is not just a thin coat of color. The goal is to create a waterproof layer to help prevent water loss.
For larger flat areas, the product can be poured out and spread with a 3/8-inch roller. For smaller ponds, corners, edges, steps, and vertical areas, a brush will usually give you more control.
Give It Time Before Adding Water Back
Once the pond is coated, it is tempting to refill it right away. Try not to. PondPro2000’s application instructions say to wait a full 48 hours on a day above 50 degrees before filling the pond, assuming it has not rained during that time. The product may waterproof within a few hours when temperatures are above 50 degrees and rising, but refilling too early is still not worth the risk.
If your pond has fish, be even more careful. Plan where the fish will stay while the pond is being repaired. Make sure they have safe water and aeration.
One PondPro2000 customer testimonial mentions letting the coating dry for 7 days before adding water, then plants and fish. That kind of patience can help protect the repair and give the pond a better restart.
A coating can feel dry before it is fully ready for pond use. Waiting a little longer is much easier than draining the pond again because the repair was rushed.
Put Rocks and Decorations Back Carefully
After the repair is done, be careful when putting rocks, plants, and decorations back in place.
Do not drag heavy stones across the coating. Do not drop rocks onto repaired areas. If a sharp rock caused the original leak, placing it back the same way can create the same problem all over again.
Use smoother stones where possible. Set them down gently. Give repaired areas a little extra care, especially if they are on a liner. A strong repair still deserves careful handling.
The Repair Process Is Simple, But It Should Not Be Rushed
A good DIY pond repair usually comes down to a few basic steps.
Find the leak. Clean the surface. Remove loose material. Repair tears with butyl tape. Mix the coating properly. Apply it at the right thickness. Let it dry. Refill only after the coating is ready.
None of that is complicated, but every step matters. Most failed repairs happen because one step was skipped. The pond was still damp. Algae was left on the surface. A tear was not reinforced. The coating was spread too thin. Water was added too soon. A durable repair is not about rushing through the job. It is about doing the boring parts correctly.
Final Thoughts
A cracked or leaking pond can be stressful, especially if you have fish, plants, or landscaping around it. But it does not always mean the pond is ruined. Many leaks can be fixed with careful inspection, proper cleaning, reinforcement where needed, and a coating made for pond conditions.
If you are tired of dealing with pond leaks, Pond Pro 2000 offers diy pond owners a practical way to seal and protect EPDM and fiberglass liners, as well as concrete ponds.
Take your time with the repair. Find the leak properly. Clean more than you think you need to. Reinforce the damaged spots. Apply the coating at the right coverage rate. Let it dry before adding water back.
A leaking pond is frustrating, but it is fixable. With the right approach, you can stop the water loss and get back to enjoying the pond instead of constantly wondering where it’s going.