DIY Pond Sealing: How to Waterproof Your Pond Effectively

Nothing takes the joy out of having a backyard water feature quite like constantly refilling it because of pond leaks. You fill it up, walk away feeling proud, and the next day you notice the water level has dropped again. It’s irritating. It’s wasteful. And if left unattended, it can hurt your plants and fish, too.
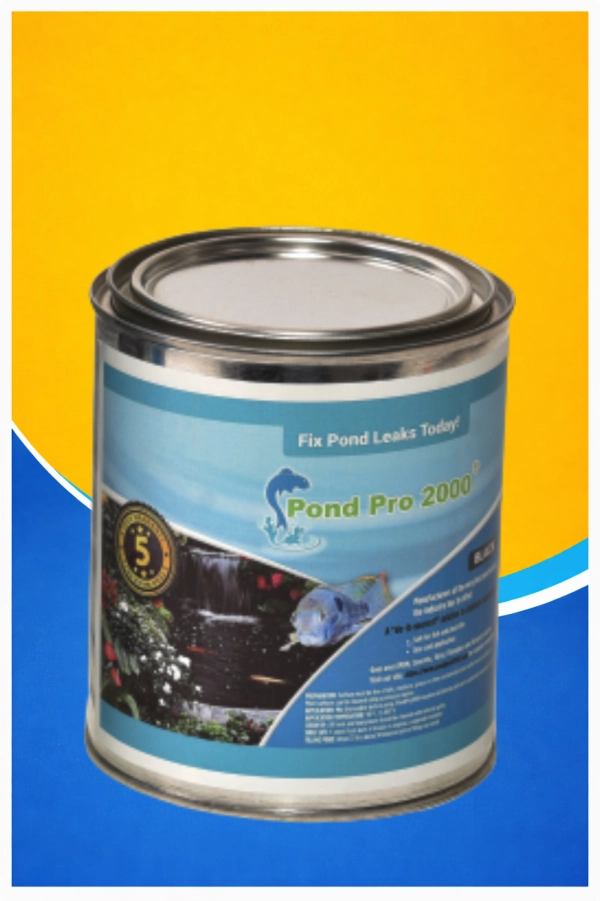
Over the years, I’ve learned first hand that tackling a leak early makes all the difference. And the good news is – fixing your pond doesn’t have to be a complicated, expensive chore. With a quality sealant and some elbow grease, you can bring your pond back to life and keep it that way for years. One product that stands out again and again is Pond Pro 2000 – a trusted solution for DIY pond sealing and pond repair.
Why You Should Fix Pond Leaks Right Away
When a pond starts leaking, the first instinct many people have is to ignore it or assume it’s just evaporation. But leaks don’t heal themselves, and water loss usually means something isn’t right.
A slow leak can be sneaky. Over time, it can:
- Lower the water level enough to stress fish and plants.
- Damage the pond liner.
- Cause muddy edges and unstable ground.
- Turn a peaceful water feature into a maintenance headache.
Instead of letting it get worse, it’s worth addressing the issue directly. And that’s what Pond Pro 2000 was made for – fixing pond leaks effectively without tearing everything apart.
What Makes Pond Pro 2000 Different
Some people get overwhelmed when they hear “pond sealing.” They think it means replacing liners, draining the pond, or hiring a pro. But that’s not always necessary.
Pond Pro 2000 is a liquid butyl rubber coating that waterproofs ponds in just one coat. Unlike many products on the market, it doesn’t require a primer and, once cured, forms a seamless, flexible membrane that can stretch, contract, and withstand temperature fluctuations.
A few standout features:
- One‑coat application – no primer needed
- Adheres to existing EPDM liners, concrete, fiberglass, and more
- Fish‑ and plant‑safe once cured.
- Waterproofs within a few hours in normal temperatures
- UV, cold, and heat resistant
- Backed by a strong warranty that brings peace of mind
These qualities make Pond Pro 2000 feel like the simplest long‑term solution for pond owners who want results that last.
Getting Started: Tools and Prep Work
Before you dive in, you’ll want to have a few things ready:
- High Grade Pond Sealant
- Roller and brushes for application
- A soft‑bristle brush and water for cleaning
- Butyl tape and MS Butyl caulk for cracks or seams
- Drop cloths (if you’re worried about splatter)
The prep work isn’t hard, but it’s really important for a good outcome. I always say, “Take your time now so you don’t redo it later.”
Step‑by‑Step: How to Seal Your Pond
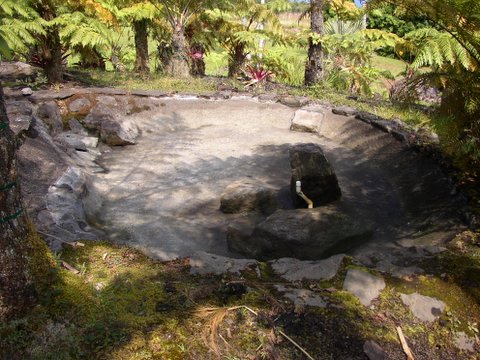
1. Inspect the Pond
Start by walking around the pond and looking closely at the liner or pond surface. You’re trying to spot spots where water may be escaping or areas that look worn or cracked.
If you have fish or plants in there, consider moving them to a temporary holding tank or bucket while you work (especially if you’re draining or removing water). This makes the repair easier and safer for them.
2. Clean the Surface
Nothing sticks to dirt or grime. Use just water and a soft brush to clean the surface. You don’t want to use harsh detergents inside your pond because residue can harm aquatic life.
Make sure everything is dry before moving on. Moisture can stop the sealant from bonding properly.
3. Patch Cracks or Seams
If you find areas where the pond liner has splits or seams that are pulling away, that’s where you want to start.
Apply a bit of MS Butyl caulk down the middle of any tear or seam. This gives the liquid sealant a solid base to grab onto.
4. Apply the One Coat (If Needed)
For EPDM liners, it’s often recommended to do a light initial coat known as a “flash coat.” This is just a thin layer of Pond Pro 2000 applied across the surface.
Don’t worry if you can still see parts of the original liner – this coat is just preparing the surface so the main coat bonds better.
Let this layer dry completely – usually a day in normal temperatures.
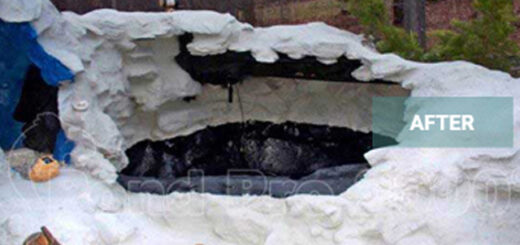
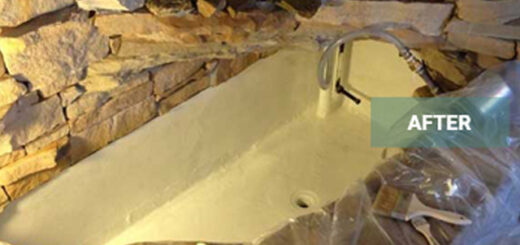
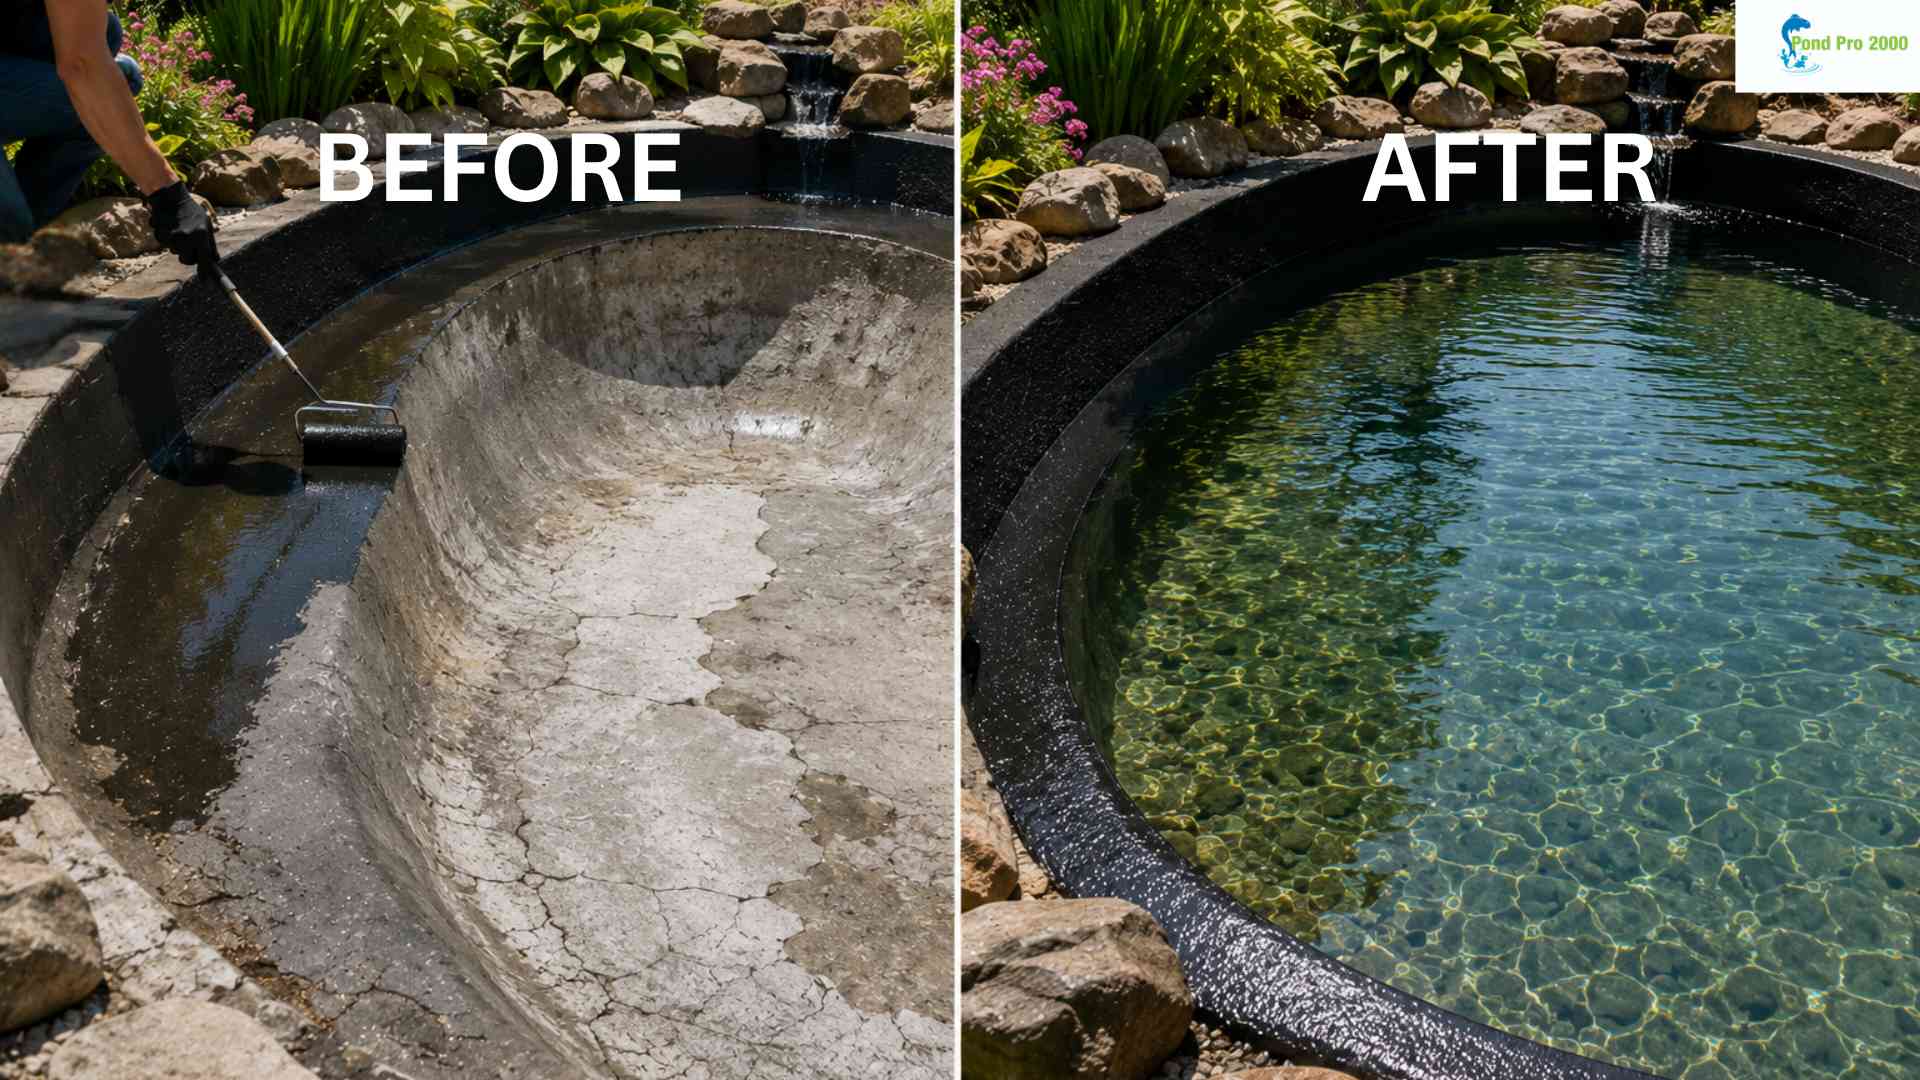
5. Roll on the Main Coat
Now for the main action. Stir your Pond Pro 2000 well, and use a roller to apply it evenly. You’ll want to work in smaller areas so the coating goes on smoothly and doesn’t pool.
A consistent coat forms a continuous, waterproof membrane – so take your time and cover everything evenly.
6. Let It Cure
Here’s the part that takes patience: let the sealant dry and cure. In warmer weather (above about 50°F), it usually waterproofs within a few hours. But to fully cure and give you peace of mind, let it sit for a full day before refilling the pond.
This curing time allows the product to form a strong chemical bond with the surface, almost as if it becomes one with your pond.
Real Results People Have Seen
A lot of people think the hardest part is finding the actual spot where the leak is coming from, and they’re right – it’s not always obvious. But the beauty of Pond Pro 2000 is that you don’t have to find every tiny leak spot before you start. Once the coating forms a single, seamless layer, water stops escaping through even the smallest hidden gaps in ways that old patch kits can’t replicate.
Thousands of pond owners have used this approach for decades because it really works. That’s why it’s trusted as a go‑to pond repair method that doesn’t leave you guessing.
Wrapping It Up
fixing pond leaks doesn’t need to be frustrating. With some careful prep and a high‑quality sealant like Pond Pro 2000, you can waterproof your pond effectively and enjoy it for years without the stress of daily water top‑ups.
Just remember:
- Take your time cleaning and prepping.
- Use proper application techniques.
- Let the coating cure fully before refilling.